

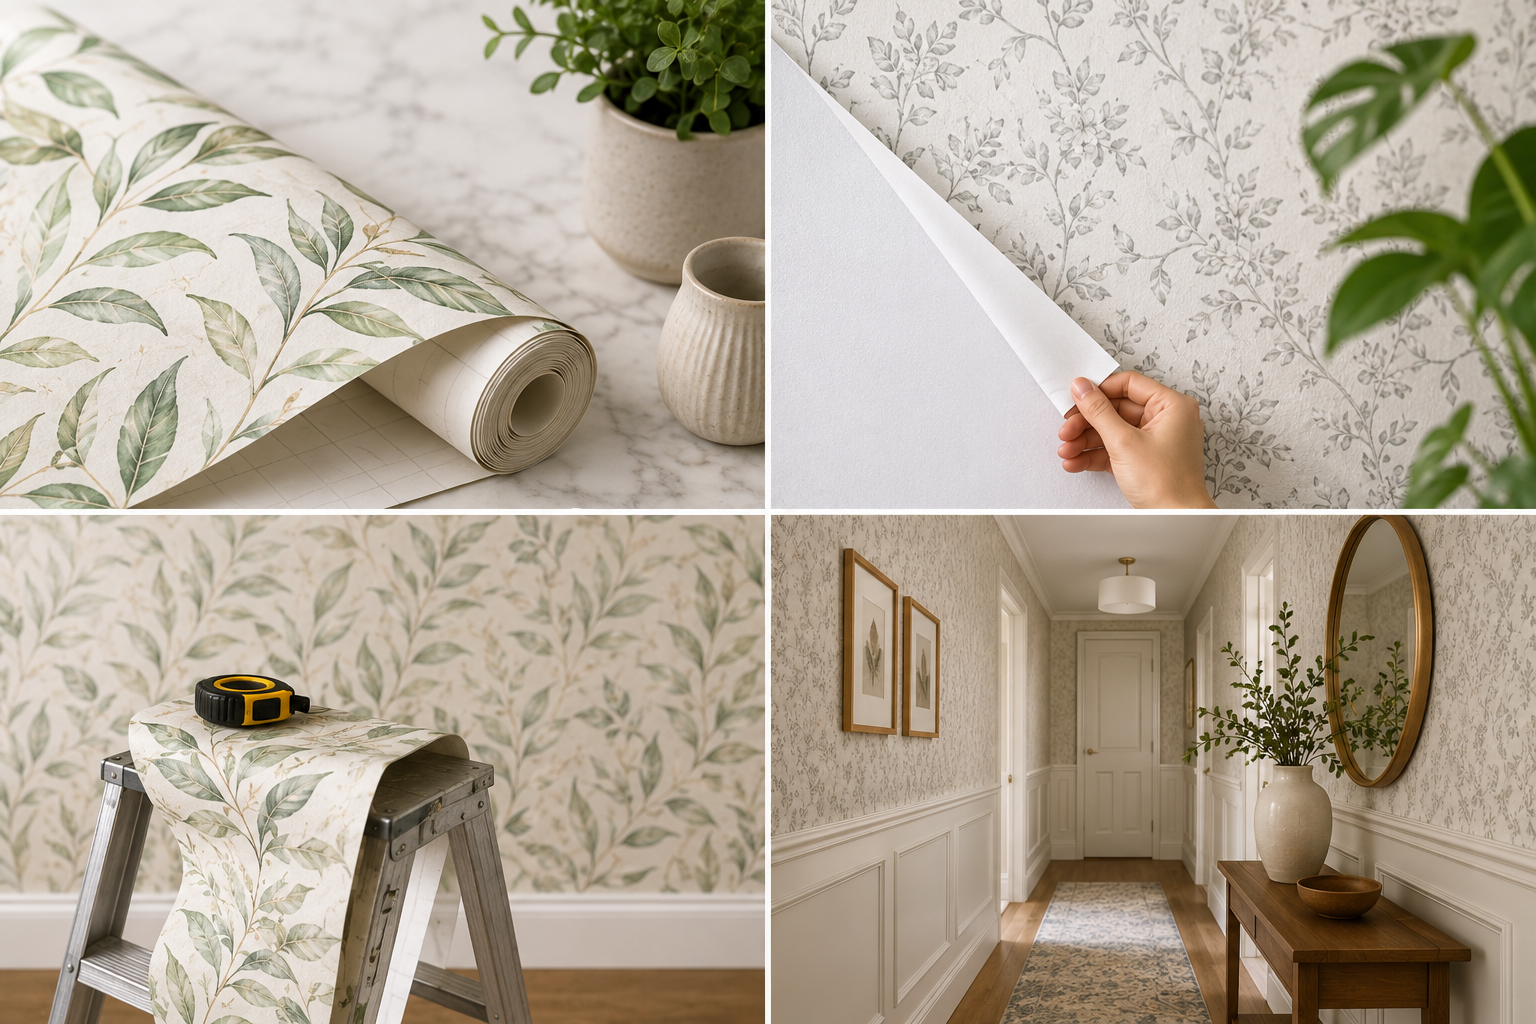
I used to think peel and paper wallpaper was one of those projects you just… do. Roll it out, stick it, done by lunch. My cousin’s first attempt proved otherwise — bubbles everywhere, a crooked seam right at eye level, and a very long sigh.
That’s the thing nobody tells you about peel and paper wallpaper: it’s genuinely beginner-friendly, but only once you know the four things that actually trip people up. This isn’t a glossy how-to. It’s the version I wish someone had handed me before I touched my first roll.
What Peel and Paper Wallpaper Actually Is
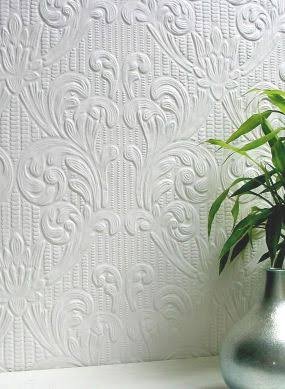
Forget the paste bucket and the wallpaper brush your grandmother used. Peel and paper wallpaper comes with adhesive already baked into the back. You peel off a liner, press the material onto the wall, and that’s the whole mechanism.
Most versions are vinyl-based, though fabric and textured options exist too. The surface can mimic grasscloth, subtle linen, or bold graphic prints without any of the traditional mess.
Here’s a small thing people miss — not every “peel and stick” product on the market is actually removable without residue. Cheaper rolls sometimes leave a ghost outline behind. Read the fine print before you fall for a pattern you love.
Why People Are Switching Over
Renters love it, obviously. You can’t repaint someone else’s walls without a fight, but you can usually apply peel and paper wallpaper without violating a lease.
Homeowners like it for a different reason — commitment anxiety. Nobody wants to live with a bold botanical print for a decade because traditional paste-based paper felt too permanent to swap out.
I’ll admit a mild bias here: I think people over-plan this decision. It’s removable. If you hate it in six months, you peel it off and move on. Treat it like a haircut, not a tattoo.
The Types You’ll Run Into While Shopping
Not all rolls behave the same, and picking blind is how people end up frustrated by week two.
- Vinyl peel and paper wallpaper — the most common, durable, wipeable, forgiving for beginners
- Fabric-backed versions — softer texture, but trickier to reposition once pressed down
- Textured or embossed styles — gorgeous, but they show seams more than flat prints do
- Mural-style panels — sold as a set, meant to align edge to edge for one continuous scene
If you want a curated starting point instead of scrolling for hours, wallsbloom’s top-rated wallpaper picks is a decent shortcut for narrowing things down by room type.
Color matters more than people expect too. Darker rolls hide seam lines better in low light, which is worth knowing if your accent wall doesn’t get much sun.
Truth One: Your Wall Prep Determines Everything
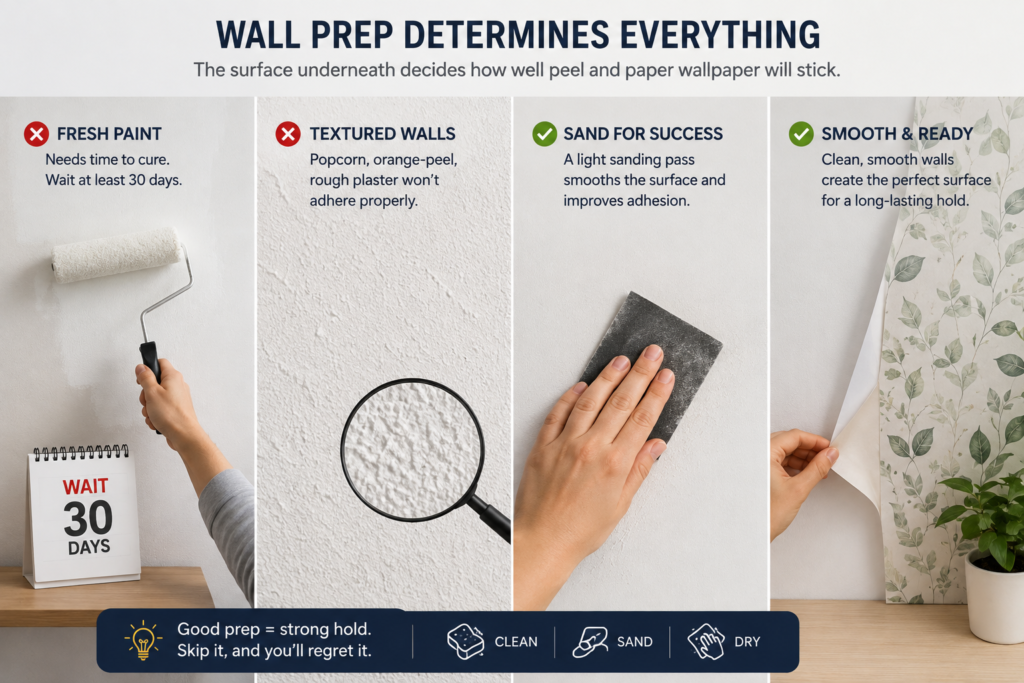
This is the truth nobody wants to hear because prep sounds boring. But peel and paper wallpaper adheres based on the surface underneath it, not magic.
Freshly painted walls need real curing time — most manufacturers recommend waiting a full month before applying anything on top. According to official application guidelines from a leading wallcovering brand, applying peel and paper wallpaper over recently painted or papered surfaces, or onto textured and nonstick walls, is one of the fastest ways to see adhesion fail early.
Textured walls are the other silent killer. Popcorn ceilings, orange-peel drywall, rough plaster — none of it grips properly. A light sanding pass changes everything.
Truth Two: Humidity Is Not Your Friend
Bathrooms and kitchens look like obvious candidates for a quick wallpaper refresh. They’re also where peel and paper wallpaper struggles the most.
Steam and temperature swings loosen adhesive over time, especially around seams. You’ll notice edges lifting first, usually near a shower or stove.
That doesn’t mean skip those rooms entirely — just pick vinyl-heavy, moisture-rated rolls if you’re set on a kitchen backsplash accent or a powder room feature wall.
| Room Type | Humidity Risk | Best Approach |
| Bedroom | Low | Any style works well |
| Living Room | Low | Great for statement walls |
| Kitchen | Moderate–High | Choose moisture-rated vinyl |
| Bathroom | High | Avoid shower-adjacent walls, ventilate well |
| Closet | Low | Ideal practice spot for beginners |
Small enclosed spaces like closets are honestly the smartest place to build confidence before tackling anything visible.
Truth Three: Reposition Early, Not Late
Peel and paper wallpaper is marketed as forgiving, and it mostly is — but only within a short window. Once it’s pressed flat and left for a while, pulling it back up gets riskier.
Air bubbles feel like a crisis the first time you see one. They’re not. A smoothing tool pushed toward the nearest edge usually clears them out without drama.
Stretching is the sneakier issue. Pull the material too tight while aligning a seam and it can distort slightly, leaving a subtle mismatch in the pattern a few strips later. Go slow on that first roll — everything downstream depends on it being straight.
Truth Four: Removal Isn’t Always as Clean as the Packaging Claims
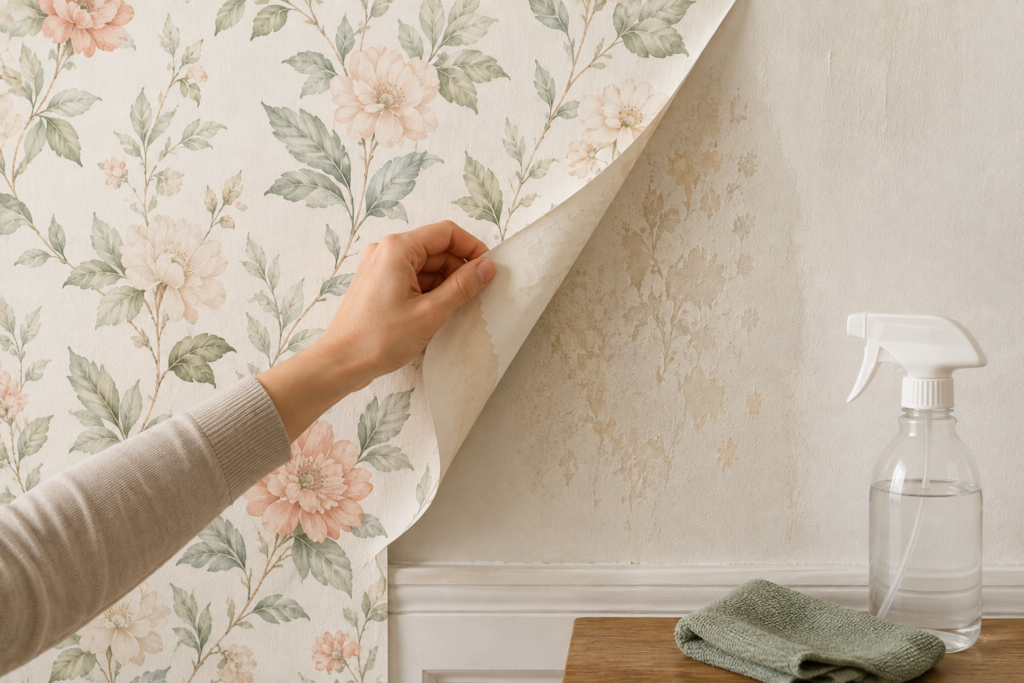
This is where reviews get honest, and marketing gets quiet. Some peel and paper wallpaper comes off in one satisfying sheet. Some leaves a faint outline that needs a little rubbing alcohol to fully disappear.
Age plays a role too. Wallpaper left up for years tends to bond more stubbornly than something removed after a few months.
Interior designers echo this mixed experience. In a piece covering what designers really think about removable wallpaper, several noted that quality varies dramatically between brands, and substrate matters just as much as the printed design on top.
Step-by-Step: Getting It Right the First Time
Skipping steps is how most first attempts go sideways. Here’s the order that actually works.
- Clean and dry the wall completely — dust ruins adhesion fast
- Lightly sand any rough patches, then wipe away residue
- Measure your wall width and mark a vertical guideline with a level
- Peel back 12–18 inches of backing and align the first strip to your line
- Smooth from the center outward, pushing bubbles toward the edges
- Trim excess at the ceiling and baseboard with a sharp blade
- Repeat strip by strip, matching the pattern before pressing firmly
Grab a second person for anything larger than a single accent wall. It genuinely goes faster with four hands instead of two.
Common Mistakes Worth Avoiding
Rushing the first strip tops the list. Everything after it follows that alignment, crooked or not.
Ignoring the manufacturer’s cure-time window on fresh paint is another repeat offender. So is buying the exact roll count with zero extra — pattern matching eats more material than people budget for.
And honestly? Overthinking room choice slows people down more than any technical mistake. Start small, learn the feel of the material, then commit to the statement wall.
Where a Moodier Palette Works Especially Well
If you’re leaning toward drama over pastel florals, darker rolls hide seams beautifully and photograph well in low-light rooms. Browsing moody black designs is worth doing before you settle on something lighter just because it feels “safer.”
Bold doesn’t have to mean permanent — that’s the whole appeal here.
Caring for It Long-Term
Wipe with a slightly damp cloth for vinyl versions; skip anything abrasive that could scuff the print. Avoid direct sun exposure on cheaper rolls, since some fade faster than advertised.
Check seams every few months in humid rooms. Catching a lifting edge early is a two-minute fix. Catching it late sometimes means replacing the whole strip.
For a broader breakdown of styles, patterns, and buying advice beyond this guide, wallsbloom’s full removable wallpaper guide covers ground this article doesn’t touch.
FAQs
Does peel and paper wallpaper damage walls when removed?
Usually not, if removed within a reasonable timeframe and from a properly primed surface. Older installations or unprimed drywall occasionally show minor marks, so testing a small corner first is smart.
Can I install peel and paper wallpaper over textured walls?
Technically yes, but adhesion suffers noticeably. Light sanding first makes a real difference, and heavily textured surfaces like popcorn ceilings usually aren’t worth attempting at all.
How long does peel and paper wallpaper typically last?
Budget rolls often hold up around three years, while higher-quality vinyl versions can last seven or more with proper prep and stable room humidity.
Is peel and paper wallpaper safe for kitchens?
Yes, if you choose moisture-rated vinyl and avoid placing it directly behind stovetops or sinks where steam and grease concentrate most heavily over time.
Do I need special tools to apply it myself?
A smoothing tool, sharp utility knife, level, and tape measure cover most of it. Nothing here requires professional equipment or prior wallpapering experience.
Can peel and paper wallpaper be reused after removal?
Rarely with full success. Some brands claim repositionability, but adhesive strength weakens noticeably after the first full removal and reapplication attempt.
What’s the biggest mistake beginners make?
Rushing the first strip without a level guideline. Every following strip inherits that misalignment, so slowing down at the start saves frustration later.
Final Thoughts
Peel and paper wallpaper earns its popularity honestly — it’s approachable, forgiving compared to traditional paste-based paper, and genuinely renter-friendly in a way that opens up design options people used to skip entirely. But approachable doesn’t mean foolproof, and the gap between “looks easy in a video” and “goes smoothly on your actual wall” comes down to the four truths covered here.
Prep work matters more than the pattern you pick. Humidity quietly undermines adhesion in ways that show up weeks later, not immediately. Reposition mistakes compound fast if you rush the first strip instead of treating it as the foundation for everything else. And removal, while usually clean, isn’t guaranteed to be flawless depending on wall condition and how long the wallpaper’s been up.
None of that should scare anyone off the project. It should just reset expectations a little. Start with a closet or a small accent wall if you’re nervous. Buy slightly more material than the calculator suggests. Take your time on that first vertical strip, because everything else follows its lead.
Peel and paper wallpaper isn’t complicated once you’ve done it once. It’s just one of those things where the first attempt teaches lessons no product description mentions — the kind you only really learn with a scraper in one hand and a slightly crooked seam staring back at you.