

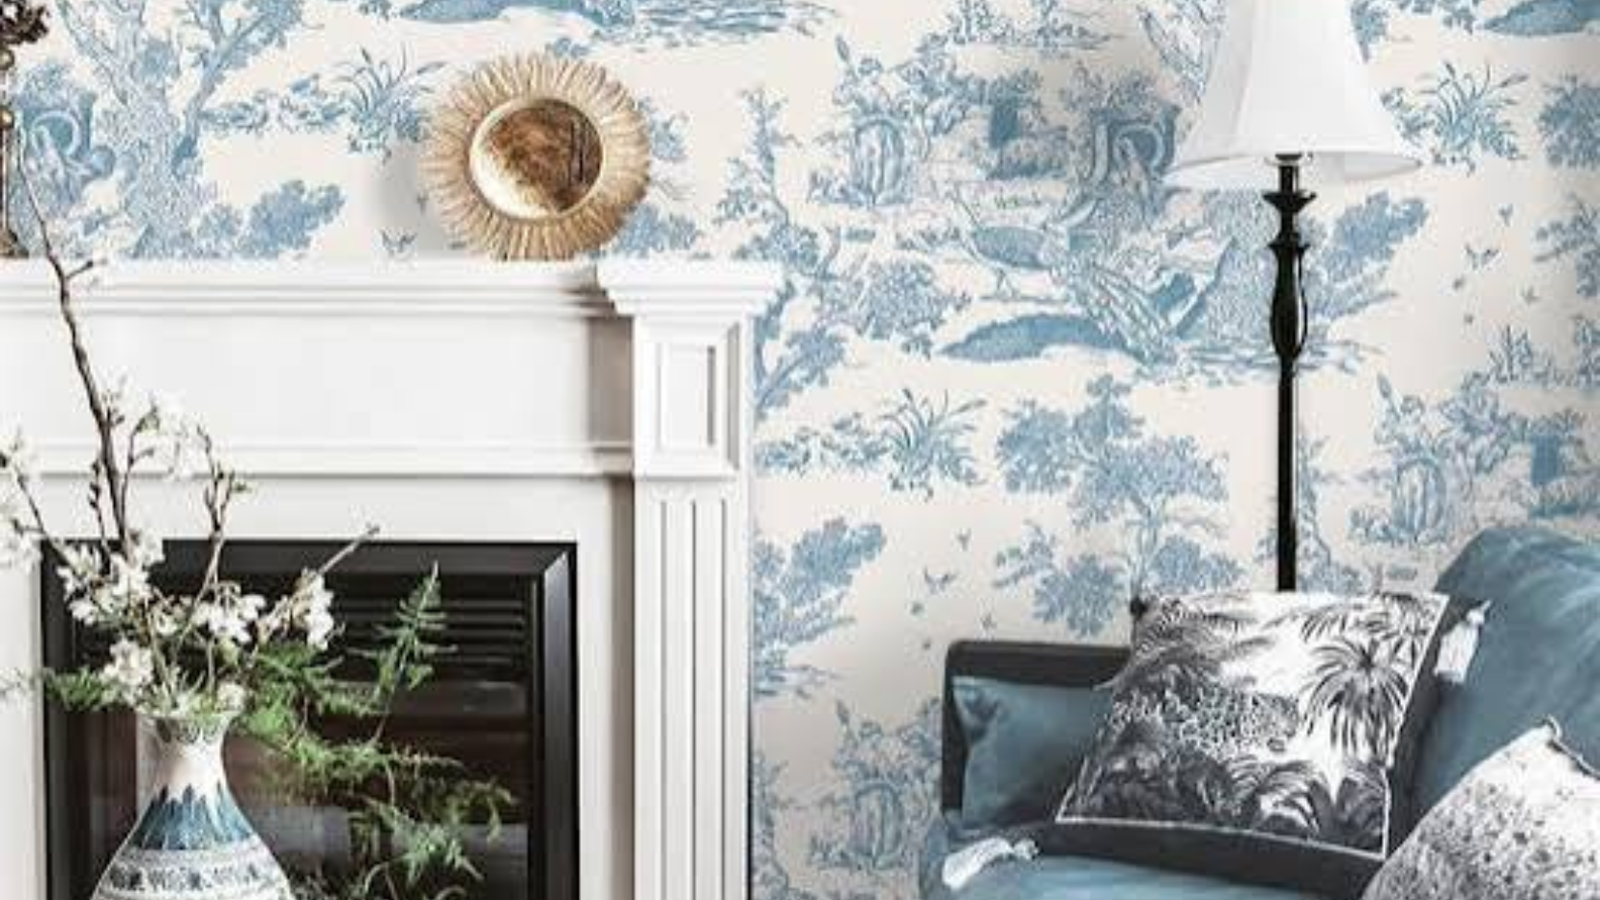
Searching for the best peel and stick wallpaper? Here’s the real breakdown of materials, install steps, costs, and mistakes worth avoiding first. Before: a blank rental wall, beige and forgettable, the kind of wall you stop noticing after week two. During: a Saturday afternoon, a roll of adhesive-backed vinyl, a squeegee tool, and probably one section you have to peel back and redo because the bubble wouldn’t quit. After: a wall that looks like it belongs in a magazine, and a landlord who never finds out you touched it.
That’s the whole appeal packed into one weekend, and it’s exactly why so many people go looking for the best peel and stick wallpaper the second they sign a lease or get tired of staring at builder-grade white paint.
I’ve installed this stuff in three apartments and one house I actually owned — you can read more about who we are and how we test these products — and I’ll say this upfront: not every roll marketed as “peel and stick” behaves the same way once it hits your wall. Some go up in twenty minutes without a single bubble. Others fight you the entire time, then peel off six months later and take a chunk of paint with them. The difference usually comes down to material quality, wall prep, and honestly, patience.
This guide walks through what the best peel and stick wallpaper options actually have in common, how the product works at a physical level, where people mess it up, and what to expect once it’s on your wall for real.
Search interest in removable wallpaper has climbed steadily over the past few years, driven mostly by renters who want personality without violating a lease and homeowners who like redecorating more often than a paint job allows. If you’re in either camp, you’re not choosing between “wallpaper or no wallpaper” anymore — you’re choosing between dozens of competing products, materials, and price points, and most of them look identical in a product photo. That’s the problem this article is here to solve.
What Is Peel and Stick Wallpaper, Exactly?
Peel and stick wallpaper is a self-adhesive wall covering that uses a pressure-sensitive adhesive backing instead of wet paste. You pull off a protective liner, press the material onto the wall, and the adhesive bonds on contact. No brushes, no bucket of glue, no waiting for anything to cure. That’s the mechanical difference between this and traditional wallpaper, and it’s the entire reason the category exists.
Most versions on the market fall into three material families: PVC vinyl, polyester or poly-woven textile, and non-woven fabric blends. Vinyl is the cheapest to produce and the most common, but it can feel thin and plasticky if the brand cut corners. Poly-woven textile versions tend to feel closer to real wallpaper — thicker, more matte, better at hiding minor wall imperfections. Non-woven blends split the difference on price and durability. When people ask what separates the best peel and stick wallpaper from the stuff that peels at the corners within a month, the material family is usually where that answer starts.
One thing worth clarifying early, since it trips people up constantly: “removable” and “peel and stick” aren’t always the same claim. Some products are peel and stick but not fully removable without residue. Others are removable but require a very specific wall type (smooth, painted, cured for 30+ days) to work as advertised. Read the fine print, not just the headline on the packaging.
Why the Best Peel and Stick Wallpaper Matters More Than People Assume
It’s easy to treat this as a purely cosmetic decision, but there’s a financial and practical logic underneath it too. Traditional wallpaper installation through a professional can run several hundred dollars per room once you add labor, paste, and tools. Peel and stick versions cut that cost dramatically because you’re doing the labor yourself, and the material itself is usually priced per roll rather than per square foot with a markup for installation.
There’s also the damage-deposit angle, which honestly might be the single biggest driver of demand. Renters lose deposit money over wall damage more than almost anything else, and a wallpaper that goes up clean and comes down clean removes that risk entirely — assuming you pick a version that’s actually built to do that. Not every “best peel and stick wallpaper” list online is honest about which products genuinely qualify.
And there’s a design flexibility argument nobody talks about enough. Trends move fast. A pattern that feels fresh this year can look dated in three. With peel and stick, swapping a wall’s entire personality costs a fraction of what a repaint costs, and it takes an afternoon instead of a weekend covered in drop cloths.
Materials and Types: What You’re Actually Choosing Between
Here’s where a comparison actually earns its place, because these aren’t vague style categories — they’re distinct material types with measurably different performance, and picking the wrong one is the single most common regret people report after buying peel and stick wallpaper.
| Material Type | Feel & Appearance | Best For | Typical Weak Point |
| PVC Vinyl | Glossy or matte, slightly plasticky | Budget projects, kids’ rooms, rentals under 1 year | Can look cheap up close; adhesive weakens in heat/humidity |
| Poly-Woven Textile | Matte, fabric-like texture, hides wall texture well | Living rooms, accent walls, long-term rentals | Higher price point; less forgiving during application |
| Non-Woven Fabric Blend | Semi-matte, slightly textured | Bathrooms, kitchens (with sealed finish), moderate humidity spaces | Middle-of-the-road on both durability and cost |
I’ll be honest about my own bias here: I lean toward poly-woven textile every time I’m doing a wall I actually care about, because it drapes over minor wall dents instead of highlighting them. Vinyl shows every bubble and every seam if the wall underneath isn’t dead flat. But vinyl wins on price, and for a first-apartment accent wall you’re only keeping for a year, that trade-off makes sense.
Beyond material, you’ll also see products marketed by finish — grasscloth-look, marble, wood grain, botanical prints, geometric patterns, and solid textured finishes like linen or plaster effect. None of these change the underlying adhesive technology. They’re purely aesthetic layers on top of whichever material base the brand chose.
How Peel and Stick Wallpaper Actually Works
The adhesive on these products is almost always a repositionable pressure-sensitive acrylic, similar in family to what’s used on window film or certain vinyl decals. It’s engineered to grip strongly enough to hold vertical weight against gravity for years, but weakly enough that a slow, steady pull releases it from a properly primed and painted wall without pulling the paint layer with it.
That balance is trickier to engineer than it sounds, which is part of why quality varies so much between brands. In independent removable wallpaper testing, one standout 2026 pick didn’t rip off underlying paint or leave behind sticky residue after application and removal, which is precisely the benchmark that separates a genuinely good product from one that just photographs well. If a brand can’t clear that bar, it doesn’t belong on any legitimate “best peel and stick wallpaper” shortlist, no matter how nice the pattern looks in the thumbnail.
Application relies on a repositioning window too — most quality products give you 10 to 15 seconds after contact before the bond sets fully, enough time to shift the sheet and correct alignment before it’s locked in. Cheaper adhesives either bond too fast (no room to fix mistakes) or too slow (panels slide out of place overnight before fully curing). This is honestly one of those details nobody puts on the box, and it’s the thing separating a frustrating Saturday from an easy one.
Real Benefits Worth Knowing Before You Buy
The upside list here is longer than most people expect, and it goes past “no glue required.”
- Speed. A single accent wall typically takes one to three hours depending on pattern matching complexity, versus a full day or more for pasted wallpaper.
- No specialized tools. A smoothing tool, a utility knife, a tape measure, and a level cover almost every install. You don’t need a wallpaper brush or a paste tray.
- Damage-free removal, when the product and wall prep are both done right — this is the deposit-saving benefit that matters most to renters.
- Cost efficiency. A full accent wall often runs somewhere between $60 and $200 depending on brand and square footage, compared to several hundred dollars for professionally installed traditional paper.
- Trend flexibility. Swapping a pattern out costs a roll of material and an afternoon, not a full redecorating budget.
Worth mentioning here, since it’s easy to overlook: some of these wallpapers are also removable and reusable, meaning you can peel a sheet off one wall and reapply it somewhere else if you move. That’s a fairly rare feature, and it’s usually only true of higher-end poly-woven products, not the cheapest vinyl rolls.
Challenges and Limitations Nobody Puts on the Packaging
None of this is flawless, and pretending otherwise would be dishonest. Peel and stick wallpaper performs worse on textured walls — orange peel texture, popcorn ceilings extended down a wall, or heavily patched drywall all reduce adhesion and make bubbles far more likely. If your walls have any texture beyond a light eggshell finish, you’re fighting the product from the start.
Humidity is another real limitation. Bathrooms and kitchens sound like obvious candidates for a quick wallpaper refresh, but standard vinyl and textile products can lift at the seams within months if there’s consistent steam exposure. A handful of brands make humidity-rated versions specifically for these rooms, but it’s not the default, so check before assuming a roll will hold up over a shower.
Freshly painted walls are a problem too, and this one surprises people constantly. Paint needs roughly 30 days to fully cure before peel and stick adhesive will bond correctly. Apply it sooner and you risk the adhesive pulling wet or under-cured paint straight off the wall during removal — the opposite of the damage-free promise the whole category is built on.
So here’s the blunt version: peel and stick wallpaper is genuinely excellent for smooth, cured, dry walls and genuinely disappointing everywhere else. Match the product to the wall, not the other way around.
Step-by-Step: How to Install It Without Regret
- Clean the wall. Wipe down dust, grease, and any residue with a mild soap solution, then let it dry completely — a damp wall ruins adhesion before you’ve even started.
- Check paint cure time. If the wall was painted less than 30 days ago, wait. This single step prevents more damage-deposit disasters than anything else on this list.
- Measure twice. Measure wall height and width, then add two to three inches of margin on each roll length for trimming errors.
- Start in a corner, using a level. A crooked first panel throws off every panel after it, so don’t skip the level here even if it feels like an unnecessary extra step.
- Peel back six to eight inches of backing at a time. Don’t strip the entire liner off at once — that’s how most bubbles and misalignments happen.
- Smooth from the center outward using a plastic smoothing tool, pushing air bubbles toward the nearest edge rather than trapping them in the middle.
- Overlap seams slightly (usually a quarter inch) for pattern matching, then trim the overlap with a sharp blade for a seamless look.
- Trim excess at baseboards and ceiling lines using a utility knife and a wide putty knife as a straight edge guard.
- Wait 24 hours before touching or cleaning the surface, giving the adhesive time to fully set into its final bond strength.
I’ve seen people rush step five specifically, pulling the whole backing off at once because it feels faster. It’s not. You’ll spend twice as long fixing bubbles as you would have spent going slow in the first place.
Practical Examples: Where This Actually Shines
A rental bedroom accent wall is the classic use case, and it remains the single most common reason people search for the best peel and stick wallpaper in the first place. One wall, a bold pattern, and the other three left neutral — it reads intentional rather than overwhelming, and it comes down clean at move-out.
Nurseries are another strong fit, mostly because parents redecorate them so often as the kid ages out of one theme into another. Nobody wants to repaint a room every eighteen months, and peel and stick handles that turnover without the drywall repair bill.
Furniture and cabinet refreshes are a less obvious but genuinely smart use. Applying a wood-grain or marble-look peel and stick sheet to a dated dresser or a kitchen island can update a piece of furniture for the cost of a single roll, no sanding or repainting required. It’s one of the more practical middle-ground uses that gets overshadowed by the wall examples in most articles on this topic.
Expert Tips From Actual Trial and Error
Buy a sample swatch before committing to a full roll if the brand offers one. Colors read differently under your specific lighting than they do on a product photo, and this alone prevents the most common buyer’s remorse in this category.
Order slightly more material than your measurements suggest — patterned rolls, especially large-scale florals or geometric repeats, waste more material during pattern matching than a plain texture does. Ten to fifteen percent extra is a reasonable buffer.
Use a hairdryer on low heat if a bubble shows up after the adhesive has already set. Gently warming the section softens the adhesive just enough to lift and reposition it without tearing the material, which is a trick most installation guides never mention.
Don’t skip a test patch in a hidden spot — behind a door, inside a closet — for 24 to 48 hours before committing to the full wall. This tells you immediately whether your specific wall surface and paint type will play nicely with the adhesive, and it’s the cheapest insurance available against a much bigger removal headache later.
Common Mistakes to Avoid
Applying wallpaper to a wall with visible texture is probably the single most repeated mistake, and it’s almost always driven by impatience rather than ignorance — people know their wall isn’t perfectly smooth, but they go ahead anyway.
Skipping the paint-cure waiting period is a close second, and it’s the one that causes actual property damage rather than just a cosmetic disappointment.
Working with the whole backing peeled off at once causes misalignment more than any other single habit, and it’s an easy fix: just work in smaller sections no matter how tedious it feels halfway through a roll.
Ignoring humidity ratings in bathrooms and kitchens leads to lifted seams within a season, and by then you’re often repurchasing material you already paid for once.
And overlooking storage temperature matters more than people expect — leaving rolls in a hot car or garage before installation can degrade the adhesive layer before it ever touches a wall, which is a completely avoidable waste of money.
Frequently Asked Questions
Does peel and stick wallpaper actually damage walls?
Not usually, if the wall was properly primed, painted, and fully cured before application. Damage risk comes mainly from applying too soon after painting or leaving material up for several years without checking adhesion periodically.
How long does peel and stick wallpaper typically last?
Most quality products hold up for one to three years on a well-prepped wall, though some poly-woven versions last considerably longer. Humidity, sunlight exposure, and wall texture all affect that lifespan directly.
Can you put peel and stick wallpaper over textured walls?
Technically yes, but bubbling and poor adhesion are far more likely, and most manufacturers recommend a smooth, flat surface for reliable results. Heavily textured walls usually need a liner or skim coat first.
Is the best peel and stick wallpaper always the most expensive option?
Not necessarily — price often reflects design exclusivity more than material quality, and several mid-range brands outperform pricier competitors in actual durability testing. Reading independent reviews matters more than trusting sticker price alone.
Do you need special tools to install peel and stick wallpaper?
No specialized tools are required beyond a smoothing tool, a sharp utility knife, a tape measure, and a level. Most first-time installers already own everything they need except the smoothing tool itself.
Conclusion
Choosing the best peel and stick wallpaper isn’t really about finding the single “winner” brand, because the right answer depends heavily on your wall condition, your room’s humidity level, and how long you actually plan to keep the pattern up. What matters more than any brand name is understanding the mechanics underneath the product — the adhesive type, the material family, the repositioning window, and the specific conditions that make removal clean instead of destructive.
If there’s one takeaway worth carrying into your next purchase, it’s this: test before you commit. A small swatch on a hidden section of wall tells you more in 48 hours than any five-star review ever will, because your walls, your paint, and your climate are never quite identical to someone else’s. Skipping that step is where most of the horror stories online actually start.
Renters chasing damage-free personality, parents refreshing a nursery every couple of years, or homeowners who just want to try a bold pattern without repainting — all of them are solving slightly different problems, but the solution overlaps more than people expect. The best peel and stick wallpaper for a rental bedroom might be the wrong choice for a steamy bathroom, and that’s fine. This category was never meant to be one-size-fits-all, and treating it that way is usually how people end up disappointed with a product that actually works well in the right setting.
Go in with realistic expectations, prep the wall properly, and buy from a brand that’s transparent about material composition rather than just showcasing pattern photos. Do that, and the best peel and stick wallpaper for your space stops being a guessing game and starts being a fairly straightforward decision.