

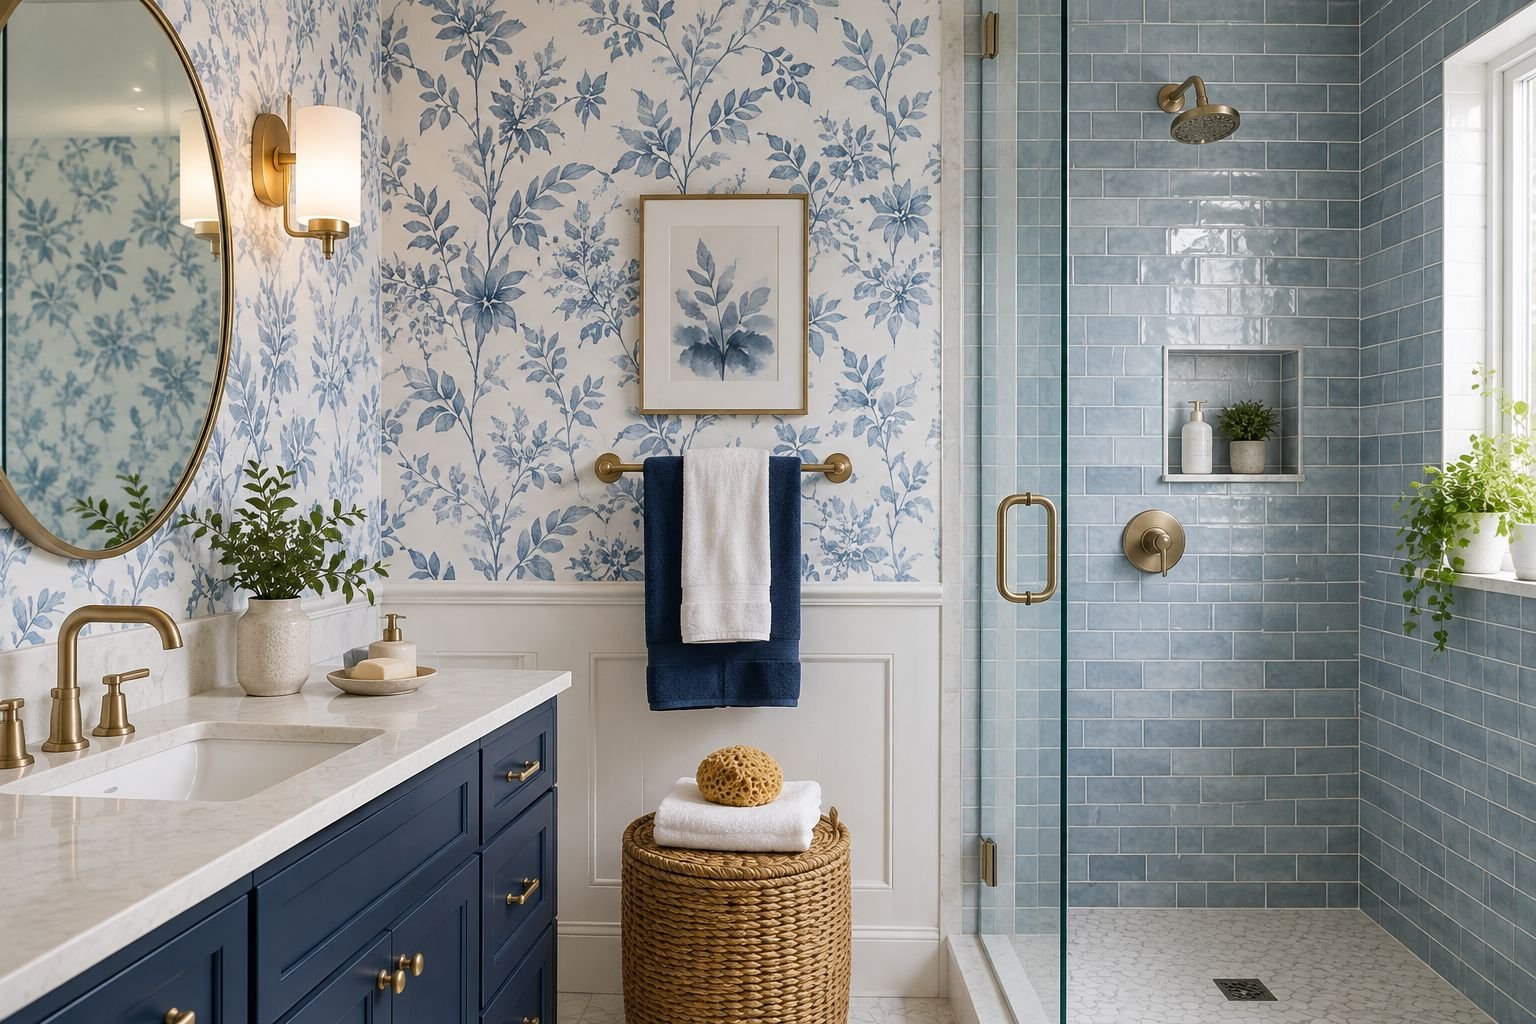
I got asked about waterproof wallpaper for bathroom projects again last week, this time from a client who’d already bought the “wrong” roll off Amazon and wanted to know if she was doomed. She wasn’t. But the question comes up so often that I figured it was finally time to sit down and write the long version — the one with the boring caveats nobody puts in a listicle.
Here’s the short version if you’re in a hurry: yes, it works, no, it’s not magic, and the material you pick matters way more than the pattern. Everything else is nuance. Grab a coffee, because we’re going deep.
So what does “waterproof” even mean here
This is where half the confusion starts, honestly. Manufacturers throw around “waterproof,” “water-resistant,” and “moisture-resistant” like they’re interchangeable, and they are absolutely not.
Water-resistant paper can handle steam and the occasional splash if it’s wiped up fast. Waterproof material, on the other hand, is built with a non-porous top layer — usually PVC or a vinyl coating — that water simply can’t soak into. Splash a glass of water on it and it beads up like it would on a raincoat.
I’ve torn down enough bubbled-up, moldy paper to know the difference isn’t academic. It’s the whole ballgame. If the label just says “wallpaper” with a bathroom photo on the box and no mention of the coating, treat that as a red flag, not a green light.
The mistake almost everyone makes before they even buy a roll
People pick the pattern first. I get it — the mermaid tile print is gorgeous, the price is right, and it’s easy to fall for it before checking a single spec. But pattern is the last decision, not the first.
Start instead with your bathroom’s actual moisture load. A powder room with no shower is a completely different animal than a full bath where someone takes twenty-minute hot showers with the door shut. One of these rooms can handle almost any product with a bathroom-safe label. The other needs the real, heavy-duty stuff or you’ll be re-papering in eighteen months.
I ask clients one blunt question before we even open a sample book: does your mirror fog up? If yes, every material decision downstream gets more conservative.
Materials, ranked by how much steam they’ll actually take

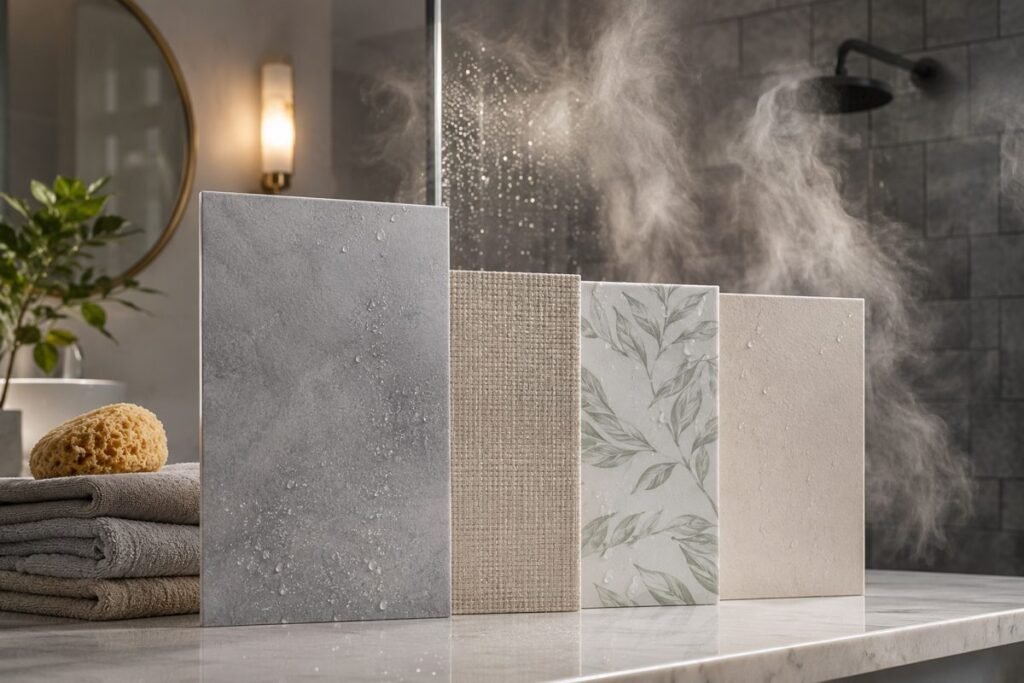
There’s a real hierarchy here, and it surprises people who assume “peel and stick” is a material rather than an installation method.
Solid vinyl — the one that does the heavy lifting
Solid vinyl (sometimes labeled Type II or Type III commercial vinyl) is basically a plastic sheet with a printed pattern fused to a fabric or paper backing. It doesn’t care about humidity. I’ve seen it installed inside actual shower stalls and hold up for years, provided the seams were sealed properly.
It’s heavier, it’s pricier per roll, and it usually needs paste rather than peel-and-stick backing. But if you want something you never think about again, this is it.
Fiberglass wallcovering — the underrated one
Nobody talks about fiberglass enough. It’s woven, breathable in a way vinyl isn’t, and it resists tearing better than almost anything else on the market. Contractors love it for commercial bathrooms because it can be painted and repainted for a decade without replacing the whole sheet.
The downside: pattern options are thinner on the ground, and most people want more than the subtle texture it offers. Still, if durability tops your list, don’t skip it just because it’s less Instagram-friendly.
Peel-and-stick vinyl films — good, with caveats
This is where a lot of the peel and stick wallpaper conversation lives, and for good reason — it’s DIY-friendly, removable, and the design range is enormous right now. The catch is thickness. A cheap, thin peel-and-stick roll behaves nothing like a thick commercial-grade one, even though both say “waterproof” on the packaging.
I always tell people to check the mil thickness if it’s listed. Anything under 4 mils tends to shrink or lift at the seams once real humidity hits it. Anything above that, and you’re generally fine for everything but a direct-spray zone.
Where you can actually put this stuff (and where you really shouldn’t)

Here’s the part that trips people up the most, and it’s not really about the wallpaper at all — it’s about water pressure and duration of contact.
Behind a pedestal sink? Fine, almost regardless of material, since splashes there are light and infrequent. Behind a freestanding tub that isn’t getting direct spray? Also fine. Inside an actual shower enclosure taking direct water pressure every single day? That’s the zone where even good waterproof material starts to struggle at the seams over time, no matter what the box promises.
The industry’s own experts land on roughly this same line. Houzz spoke to several bathroom designers who agree wallpaper can go almost anywhere in a bathroom except the shower area itself, even on walls right next to a clawfoot tub, as long as it’s not getting directly sprayed. That lines up with what I see in the field, too.
That said, I’ve watched HGTV’s Bargain Block duo pull off wallpaper inside a small shower stall and make it work — but it was paired with a heavy-duty waterproof shower curtain doing double duty as a moisture barrier, which is a design workaround, not a rule you should count on without backup protection. If you want the specifics, House Digest wrote up the exact plaid pattern they used and how they made a tiny shower feel bigger with it.
My honest rule of thumb: if water hits the wall directly and often, tile wins. If water hits the air near the wall — steam, splashes, humidity — good waterproof wallpaper wins every time, and it’s cheaper and faster than a tile job besides.
Peel-and-stick or pasted — which actually survives longer
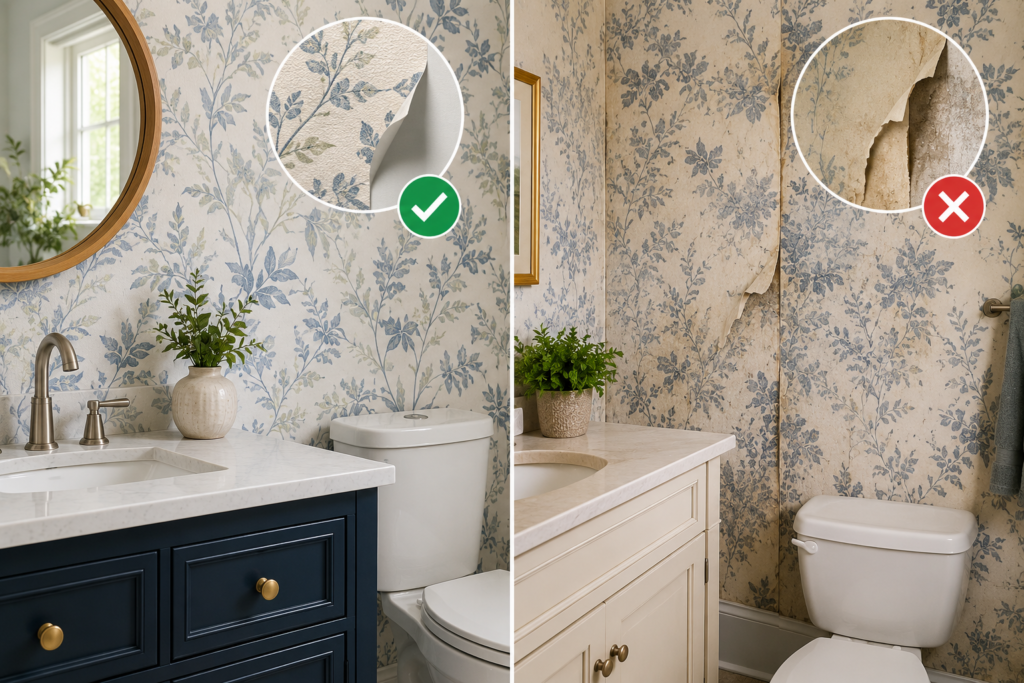
This debate gets more heated than it should, in my experience. Both can last. But they fail differently, and knowing how helps you pick.
Peel-and-stick relies entirely on its adhesive layer, and that adhesive is what humidity attacks first. Once the glue starts to give, corners lift, and lifted corners let moisture behind the sheet — which is where mold actually starts, not on the surface itself. Renters love peel-and-stick for the commitment-free factor, and honestly, that’s the right call for a rental. Just expect to keep an eye on the seams every few months rather than forgetting about it entirely.
Pasted wallpaper, especially with a mildew-resistant adhesive, tends to bond more permanently and resist lifting longer. It’s a bigger project, it’s messier, and it’s basically a one-way door once it’s up. But for a primary bathroom you plan to keep for a decade, I lean pasted more often than not.
If you’re torn, this is honestly the moment to browse a broader wallpaper for bathroom walls roundup before committing — seeing the full range side by side makes the material trade-offs click faster than any spec sheet.
Prepping the wall so it doesn’t peel in six months
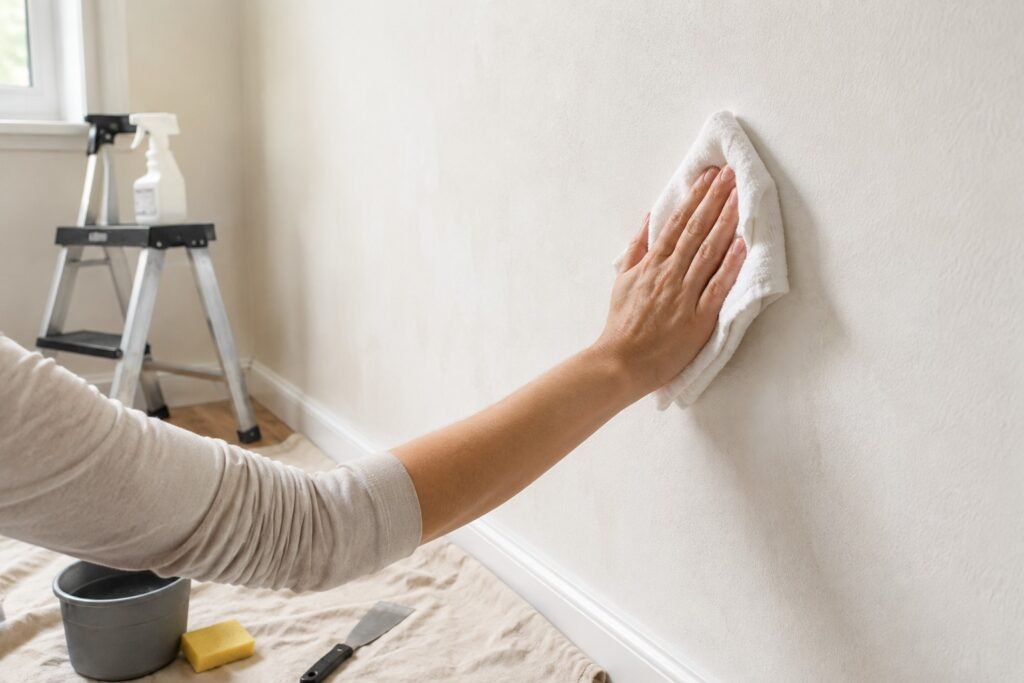
Nobody wants to hear about wall prep. Everybody skips it. It’s also the single biggest reason waterproof wallpaper fails early, full stop.
Your bathroom walls have been absorbing steam for years, even if you can’t see it. That means hidden moisture, sometimes mildew you didn’t know was there, sitting right under the paint. Skip prep, and you’re sealing that problem behind your brand-new wallpaper, where it’ll quietly grow.
Quick prep checklist that actually matters:
- Wash walls with a mild detergent, rinse, and let them dry completely — I mean 24 full hours, not “it feels dry”
- Sand any glossy or semi-gloss paint so primer has something to grip
- Patch holes and let patches cure before priming
- Apply a mold-resistant primer made for wet rooms, not a general all-purpose one
- Run the exhaust fan (or crack a window) for a full day before you even open the wallpaper box
Skipping the primer step is the number one thing I see DIYers regret. It’s the least glamorous step and the one that decides whether this whole project lasts three years or ten.
Installation notes nobody puts in the instructions
A few things I’ve picked up the hard way, none of which are in the average instruction booklet.
Corners lie. Bathroom corners are almost never a true 90 degrees, and if you start your first strip assuming they are, you’ll end up with a crooked pattern by the third panel. Use a level and a plumb line, not the corner itself, as your guide — HGTV’s own step-by-step walks through exactly this with a proper plumb-line technique for bathroom walls, and it’s worth reading even if you’ve hung wallpaper before, because bathrooms genuinely behave differently than bedroom walls.
Seal every seam, even on “waterproof” material. Water doesn’t need to get through the vinyl itself; it just needs a gap at the seam to sneak behind it. A clear seam sealer, run along every join, is cheap insurance that most people skip because it feels redundant on a product that’s already waterproof. It isn’t redundant. It’s the actual weak point.
Leave a small gap — a half inch is plenty — anywhere the wallpaper meets a high-splash surface like a backsplash or tub surround. A clean termination line there looks intentional, and it keeps water from wicking straight up into the paper from below.
Design directions that won’t look dated by 2029
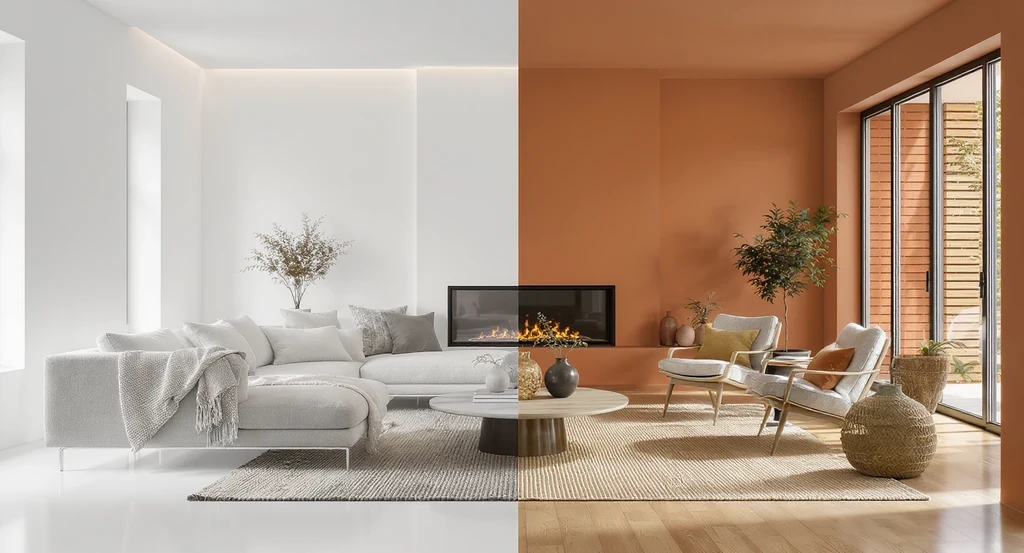
Okay, the fun part. I keep steering clients away from anything that screams “trend of the moment,” because bathroom renovations don’t happen often and nobody wants to redo this again in three years.
Deep, moody tones
Charcoal, forest green, ink blue — these read as intentional and expensive even on a modest budget, and they hide water spots better than pale colors do, which is a genuinely practical bonus nobody mentions. Pair with brass or matte black hardware and it looks pulled together instead of dark for the sake of dark.
Coastal and botanical prints
This one’s had staying power for a reason. Palm fronds, loose watercolor florals, subtle wave textures — they read fresh in a small, light-filled bath and don’t fight with tile the way busier geometric patterns sometimes do.
Quiet texture over loud pattern
If you’re renovating a bathroom that needs to sell the house someday, a grasscloth-look vinyl or subtle linen texture is the safer bet. It photographs well, it’s neutral enough for most buyers, and it still elevates a plain builder-grade bathroom without committing the next owner to your taste specifically. For anyone chasing a more elevated finish generally, it’s worth scrolling through a few classy bathroom wallpaper picks before deciding — texture-forward options tend to age the most gracefully of any category I install.
Whatever direction you go, order a physical sample. Bathroom lighting is brutal and unpredictable, and a pattern that looks perfect on your laptop screen can go strange under a cool LED vanity light. Every designer I know learned this lesson the expensive way at least once.
What this actually costs, roughly
Rolls run anywhere from about $20 for a basic peel-and-stick print up to $250 or more per roll for premium commercial vinyl or fiberglass, and a typical small bathroom needs somewhere between two and five rolls depending on ceiling height and how much cutting you’ll waste on windows and fixtures.
If you’re hiring it out, professional installation for a full day’s work — which is roughly what a small bathroom takes — tends to land somewhere between $300 and $700, not counting the paper itself. That’s a real number, not a guess; it lines up with what bathroom pros quote regularly. DIY obviously saves that labor cost, but factor in the primer, sealer, tools, and the very real chance of wasting a roll on your first attempt at matching a pattern around a toilet.
Maintenance and realistic lifespan
Good waterproof wallpaper, properly installed on a well-ventilated bathroom, should hold up for eight to fifteen years without major issues. That’s a wide range on purpose — ventilation is doing most of the work in that number, more than the wallpaper brand ever will.
Wipe it down with a damp microfiber cloth when you notice buildup, avoid anything abrasive or ammonia-based unless the manufacturer explicitly says it’s fine, and reseal any lifting corner the moment you spot it rather than waiting. A five-minute fix today is a full strip replacement in six months if you ignore it.
Run your exhaust fan. I cannot say this enough, and I say it in almost every consultation I do. The single best thing you can do for wallpaper longevity costs nothing and takes ten extra minutes after every shower.
Where it usually fails, and how to dodge it
In order of what I actually see in the field:
Poor ventilation is the top culprit by a wide margin — it’s not usually the wallpaper’s fault at all. Skipped primer comes next, especially on older homes with layers of old paint underneath. Unsealed seams are third, and it’s an easy fix that people just forget. Cheap, thin material marketed as waterproof without real specs rounds out the list — read the actual product description, not just the category tag, before you buy.
None of these are wallpaper problems, if you think about it. They’re prep and maintenance problems wearing a wallpaper costume. Fix those four things and almost any reputable waterproof product will do its job.
Final thoughts
If there’s one thing I want you to walk away with, it’s this: waterproof wallpaper for bathroom walls isn’t a gamble anymore the way it might’ve been a decade ago. The materials have genuinely caught up to the marketing. What still separates a wallpaper job that lasts fifteen years from one that’s peeling by next spring is boring stuff — real ventilation, real primer, sealed seams, and picking a material rated for what your specific bathroom actually throws at it.
Start with the moisture level of your room, not the prettiest roll in the shop. Get a sample, hold it up under your own lighting, and don’t be afraid to spend a little more on solid vinyl if you’re doing a full bath that gets used every single day. Your future self, standing in a bathroom that still looks great in year eight, will thank you for it.
FAQs
Is waterproof wallpaper actually safe to use in a bathroom?
Yes, provided you pick a genuinely waterproof material like solid vinyl or fiberglass rather than something merely labeled “moisture-resistant.” Placement still matters — keep it out of direct shower spray unless it’s paired with additional water protection.
Can I put waterproof wallpaper directly inside a shower stall?
Generally, no, not on its own — even waterproof options struggle with constant direct water pressure at the seams over time. Some designers pull it off with a waterproof shower curtain as backup, but tile remains the safer long-term choice for that specific zone.
How long does waterproof bathroom wallpaper usually last?
With proper ventilation, solid prep, and sealed seams, expect anywhere from eight to fifteen years. Poor airflow or skipped primer can cut that number in half regardless of how good the wallpaper itself is.
Is peel-and-stick or pasted wallpaper better for a humid bathroom?
Pasted wallpaper with mildew-resistant adhesive tends to hold up longer in consistently humid, full-use bathrooms. Peel-and-stick is a great renter-friendly option but needs more frequent seam checks over time.
Do I need to prime my bathroom walls before hanging waterproof wallpaper?
Absolutely — this is the step most DIYers skip and regret most. A mold-resistant primer designed for wet rooms protects against hidden moisture and gives the wallpaper adhesive something solid to grip long-term.