

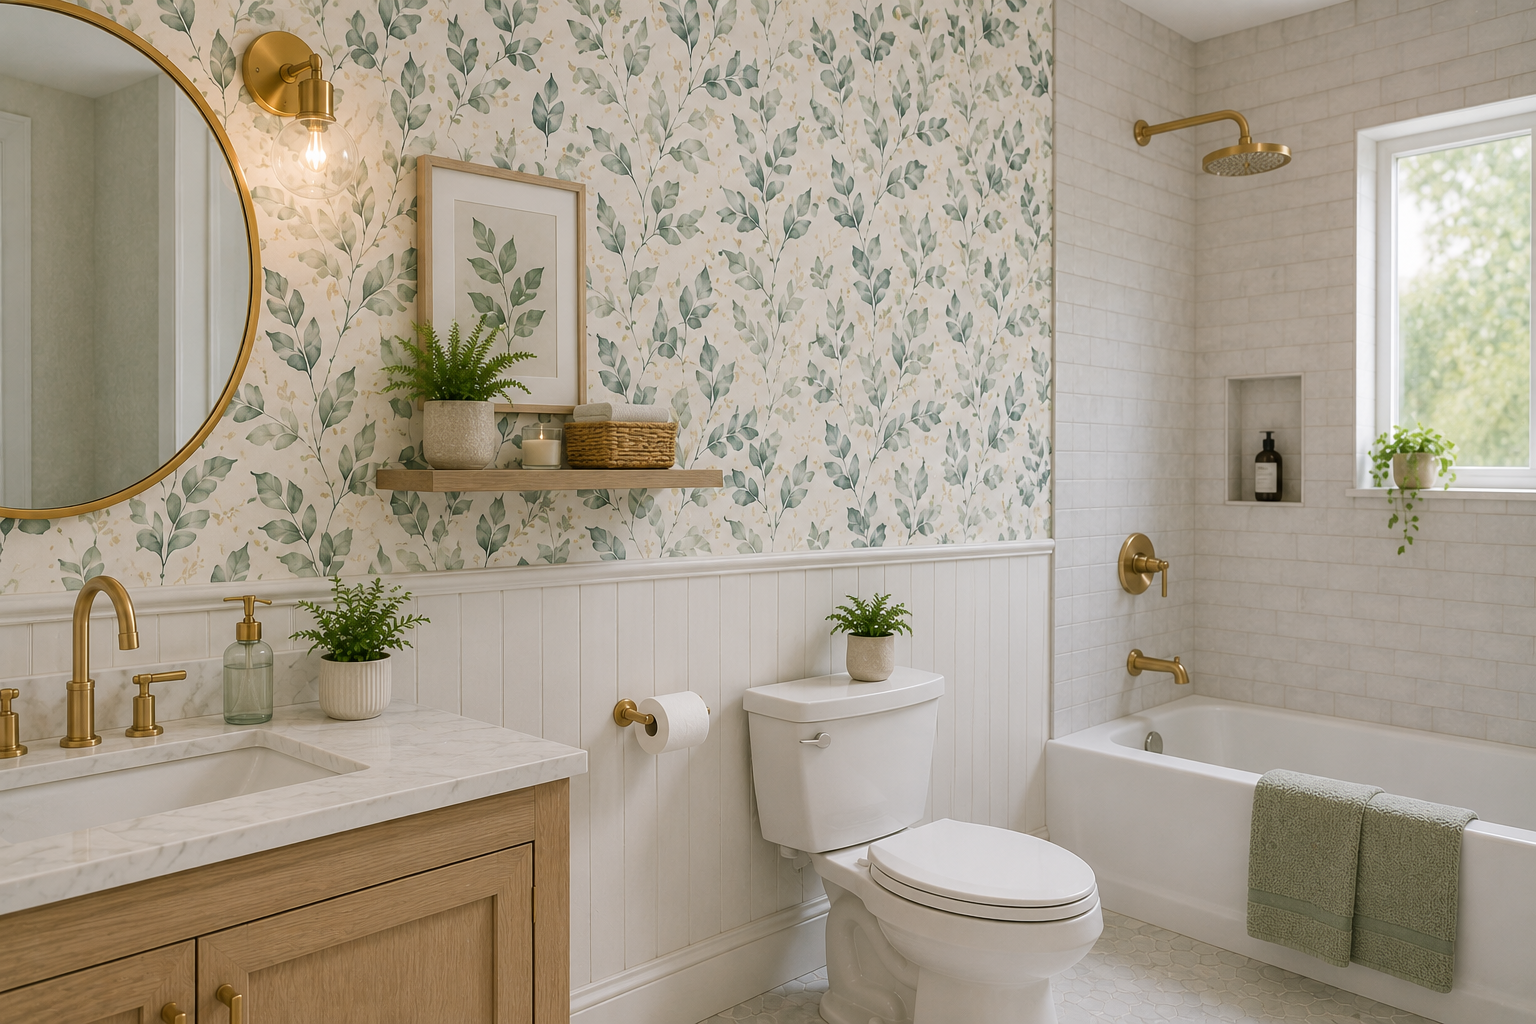
Somebody told me once that wallpaper for bathroom walls is basically asking for trouble — steam, splashes, the whole mess. I used to half-believe that too, honestly.
Then I watched a friend install peel-and-stick panels in her guest bath and realized the fear is mostly outdated now. Wallpaper for bathroom spaces has changed a lot; modern vinyl wallpaper shrugs off humidity in a way old paper-based rolls never could.
This isn’t a “maybe it’ll work” situation anymore — it’s closer to a sure thing, provided you pick the right material and skip nothing during prep.
Why This Actually Works Now
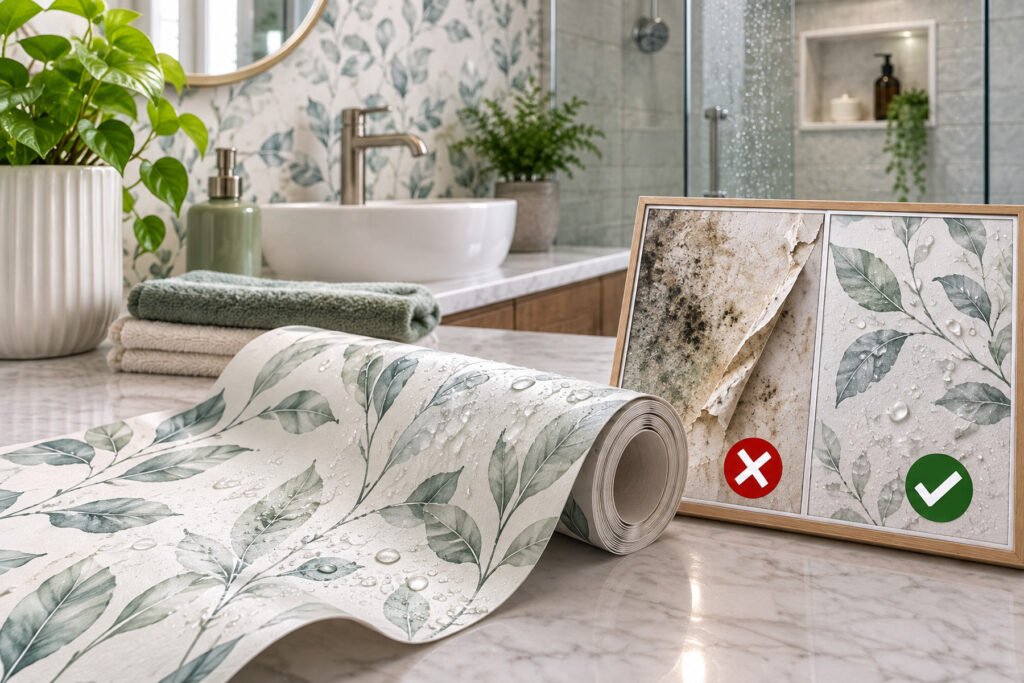
Old wallpaper trapped moisture behind it, and that’s exactly where the bad reputation started. Mold, peeling, that whole sad story people still repeat.
Manufacturers moved past that problem years ago. Vinyl coatings, breathable backings, adhesives built specifically for wet rooms — the materials caught up while the rumors stayed frozen in time.
A roll sitting pretty in a catalog photo doesn’t automatically mean it belongs on a bathroom wall. Plenty of sellers leave that detail vague on purpose. My rule: no clear mention of moisture handling or vinyl coating in the listing, no purchase — the pattern can be gorgeous and still be the wrong material entirely.
What Wallpaper For Bathroom Means
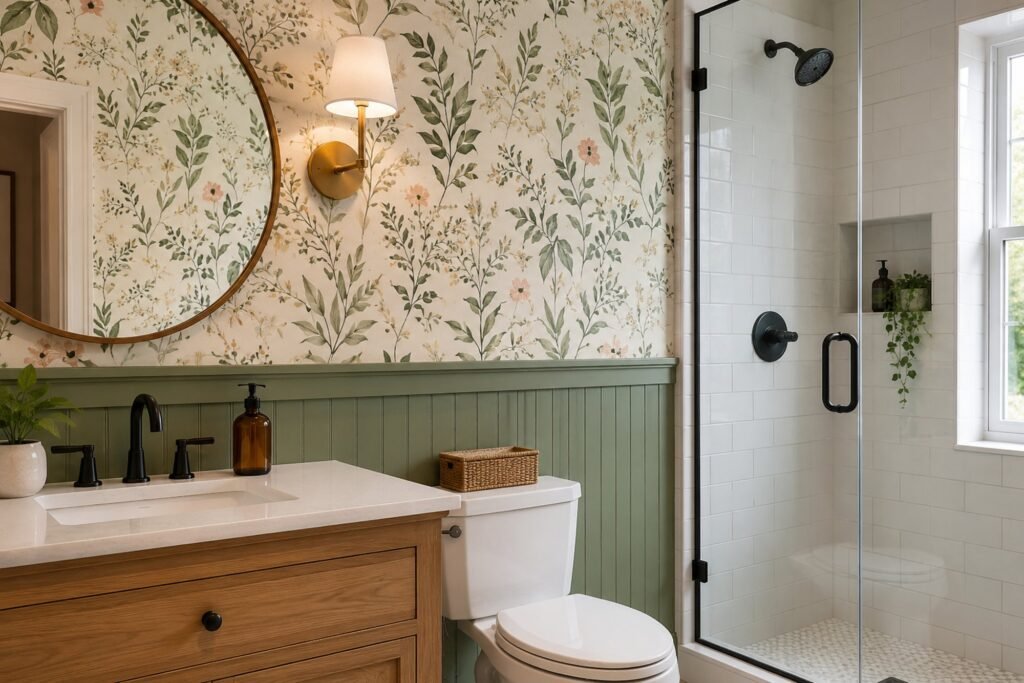
At its core, this is wallcovering engineered to handle humidity, splashes, and daily steam without falling apart within a season. Some versions are fully waterproof. The water-resistant tier is a different story — fine for a guest bathroom nobody showers in daily, a lot dicier the closer it sits to an actual tub.
Three real categories exist here — solid vinyl, vinyl-coated paper, and peel-and-stick vinyl. If commitment scares you a little, peel and stick bathroom wallpaper is where most beginners land first, mainly because there’s no paste involved and it still copes with everyday humidity without complaint.
Material Options Worth Comparing
Nobody wants three paragraphs comparing materials when a table says it faster. So here you go.
| Material Type | Moisture Handling | Best Used In | DIY Friendliness |
| Solid Vinyl | Fully waterproof | Shower-adjacent walls | Moderate |
| Vinyl-Coated Paper | Water-resistant | Powder rooms, half baths | Easy |
| Peel-and-Stick Vinyl | Waterproof to water-resistant | Rentals, accent walls | Very easy |
| Grasscloth / Natural Fiber | Weak against moisture, steer clear | Dry rooms only | Difficult |
Renters especially gravitate toward peel-and-stick, and it’s easy to see why — zero paste, minimal cleanup, and it comes off later without taking chunks of drywall with it. For anyone still comparing patterns, browsing this waterproof peel-and-stick wallpaper range gives a decent sense of what “bathroom-ready” looks like in practice, instead of guessing from a single product photo.
Why Ventilation Changes Everything
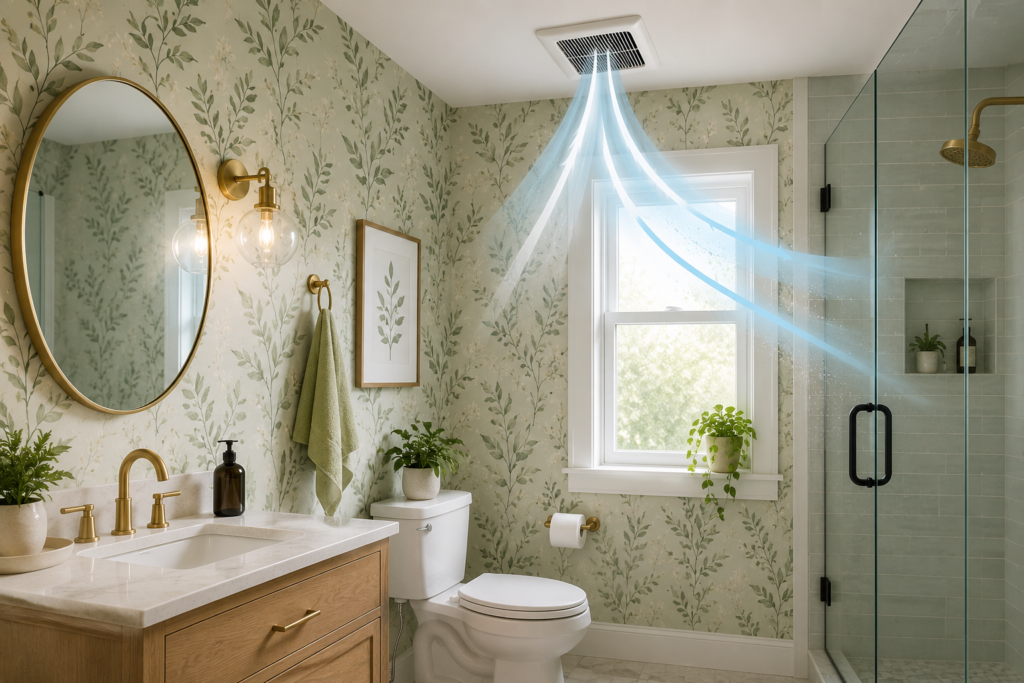
Here’s something a lot of guides skip entirely: the wallpaper isn’t the whole story. Your exhaust fan matters just as much, maybe more.
Even the toughest waterproof wallpaper struggles in a bathroom with zero airflow. Steam sits, condensation builds on every surface, and eventually something gives — usually the seams first.
Per the government mold prevention guidance, running a bathroom fan or cracking a window during and right after a shower is one of the simplest habits for keeping humidity from turning into a mold problem. That single routine probably extends your wallpaper’s life more than any premium finish could.
Design Styles That Hold Up
Bold prints hide grout lines and awkward corners better than plain colors do — that’s just my take after looking at way too many bathroom photos.
Botanical patterns feel almost expected in bathrooms now, and honestly, they earn it. Something about leafy greens against a white tub just works.
Sharp geometric prints fit compact powder rooms nicely — enough personality without swallowing the space whole. Go softer, and quieter neutrals with a bit of texture end up feeling more like a spa retreat than an actual wallpapered wall, which some people find calmer.
Murals are having a moment too — one wide, sweeping scene instead of a repeating pattern. Gorgeous in the right room, a bit much in a cramped one.
Real Benefits Beyond Looks
Wallpaper covers imperfect walls faster than most people expect. Cracks, uneven texture, old patch jobs — a good pattern hides all of it.
It’s also cheaper than retiling, usually by a wide margin. Tile demo alone can eat half a renovation budget before materials even enter the picture.
Something worth mentioning that most articles skip: this stuff isn’t permanent the way tile is. Change your mind in three years, and you’re not staring down a demolition job — just a fresh roll and an afternoon.
Step-By-Step Installation Guide
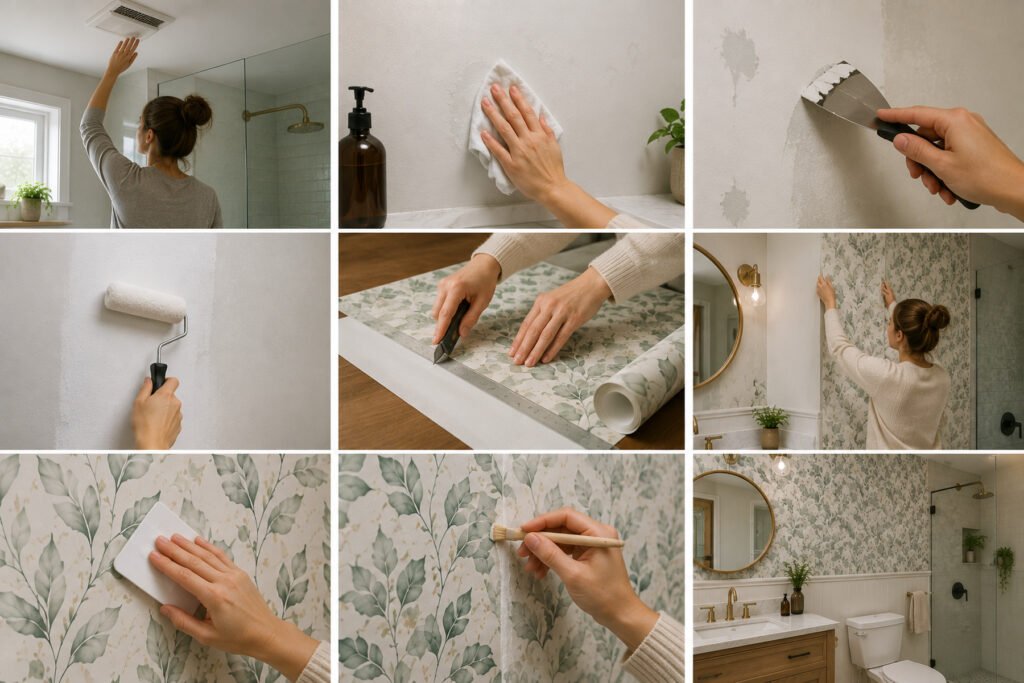
Nailing this isn’t rocket science, but rushing even one step tends to come back as a bubble or a lifted corner later.
- Shut the fan off, shut the door, and give the room a full day to dry out completely.
- Wipe every wall down with mild detergent, clearing off soap residue and dust buildup.
- Fill cracks or holes, then sand until the surface feels even.
- Coat with a wallpaper-grade primer, especially where old paint has any sheen to it.
- Cut panels to size, leaving a couple extra inches of slack on each.
- Begin on whichever wall catches the eye first — typically the one opposite the door.
- Work each panel outward from the middle with a squeegee so no air gets trapped underneath.
- Run a clear decorator’s varnish along seams sitting in splash-heavy zones.
Installers see people skip that final step constantly. Do it near a sink or shower, and even solid vinyl can start lifting within a season.
One Real Bathroom, Honestly
A relative of mine did her half-bath in a deep green botanical print last year. It looks fantastic, genuinely — but I won’t pretend it was flawless.
One seam near the mirror lifted slightly after about four months, likely because that wall catches steam every single morning. A quick varnish reseal fixed it, and things have stayed put since — proof that “waterproof” on a label doesn’t cancel out a rushed install somewhere along the way.
Expert Tips From The Trade
Professional installers repeat the same advice constantly, because it actually holds up.
- Test a small patch before committing to a full wall — some vinyl reacts oddly to certain primers.
- Non-woven backings come off easier later than paper-backed vinyl, useful if you think you’ll switch styles again.
- Cold rooms slow adhesive curing, so aim for a mild indoor temperature during install.
I’ve heard installers say the biggest mistake isn’t even the wallpaper choice — it’s rushing wall prep because people just want to see the finished look already.
Common Mistakes People Make
Damp walls at install time cause more failures than everything else on this list combined.
Choosing a non-waterproof pattern for a shower-adjacent wall is another classic error. It can look identical to the waterproof version in photos, so double-check the product description before ordering anything.
Skipping ventilation upgrades is the quiet killer. A bathroom without a working exhaust fan is a rough environment for any wallcovering, full stop — and for a deeper look at handling exactly this during install, this powder room wallpaper walkthrough covers primer choice, prepasted panels, and vinyl handling in more depth than most product pages bother with.
Room Size And Layout Notes
Compact powder rooms can pull off loud, dramatic patterns better than you’d think — less wall real estate means less room for the print to feel like too much.
Bigger primary bathrooms often look sharper with just one accent wall instead of wrapping the whole room, particularly when tile and fixtures are already doing a lot of visual work.
Odd angles or a sloped ceiling in your layout? Dry-fit the pattern repeat before committing to a full order — some prints go strange fast around an unusual corner.
Keeping It Looking Fresh
Maintenance is genuinely the easy part once installation is done right.
Wipe walls gently with a damp cloth and mild soap — nothing abrasive, and skip anything with bleach unless the label confirms it’s safe. Reapply varnish to high-splash zones every couple of years if you notice any dulling.
Keep an eye on seams near the shower specifically. Catching that early saves you a five-minute patch job instead of tearing out and replacing a whole panel months down the road.
Frequently Asked Questions
Is wallpaper actually safe for bathrooms?
It is, provided you stick to vinyl or vinyl-coated rolls marked water-resistant or waterproof, and the room has decent airflow. Untreated paper or fabric wallpaper tends to break down once real humidity gets involved.
How long does bathroom wallpaper typically last?
Done properly — good ventilation, solid installation — vinyl wallpaper often holds for 8 to 15 years. Cut corners on prep or airflow, though, and that number can drop to a year or less.
Can I install wallpaper directly around a shower?
Not usually a good idea, even with waterproof-rated material inside the shower itself. Nearby walls that take occasional splashes handle it fine, particularly once you’ve sealed the seams with varnish.
Does peel-and-stick work as well as pasted wallpaper?
In most bathrooms, absolutely, and removal later is far less painful if you’re renting or just testing the look. Double-check the specific roll is rated for humid rooms before checkout.
What’s the biggest reason bathroom wallpaper fails?
Poor ventilation, by a wide margin. Even excellent waterproof wallpaper struggles in a room with no exhaust fan, since trapped steam eventually finds weak points at seams and edges.
Should I varnish the whole wall or just parts of it?
Stick to splash-prone areas only — sinks, tubs, shower doors. Coating the entire wall isn’t needed and can occasionally shift how the pattern’s finish looks.
Is it cheaper than tiling a bathroom?
Nearly always, and by a fair amount too — materials and labor for wallpaper typically run a fraction of full tile installation.
Can textured walls be wallpapered successfully?
It’s a harder job. Texture gives moisture and dust somewhere to hide behind the paper, so skim-coating or smoothing the wall first pays off with a cleaner, longer-lasting result.
Final Thoughts
If there’s one thing worth taking away here, it’s that the old fear around wallpaper for bathroom walls doesn’t really hold up anymore. The materials have genuinely improved, and the failures people still bring up almost always trace back to one of two things — wrong material choice or skipped prep work, not the concept of bathroom wallpaper being flawed to begin with.
Check the label properly before buying anything. Look specifically for a moisture rating, not just a bathroom shown in the product photo. Be honest with yourself about how well your bathroom actually vents before wrapping the whole room instead of testing one wall first.
The most commonly skipped step, from what I’ve seen, is giving the room proper time to dry and clean before touching a single panel. Excitement takes over, people want the finished look immediately, and that one shortcut ends up deciding whether the wallpaper lasts a year or a decade.
If you’re on the fence, start with one accent wall in a smaller bathroom. It’s a low-risk way to see how the upkeep feels before committing an entire primary bath to it. And that varnish step near wet zones — don’t skip it, since it heads off most of the failures already covered here.
Get all of this right, and wallpaper for bathroom walls can genuinely rival tile on looks, cost noticeably less to install, and let you switch things up again in a few years without any real demolition involved. For anyone bored of plain painted walls, that trade-off is hard to argue with.