

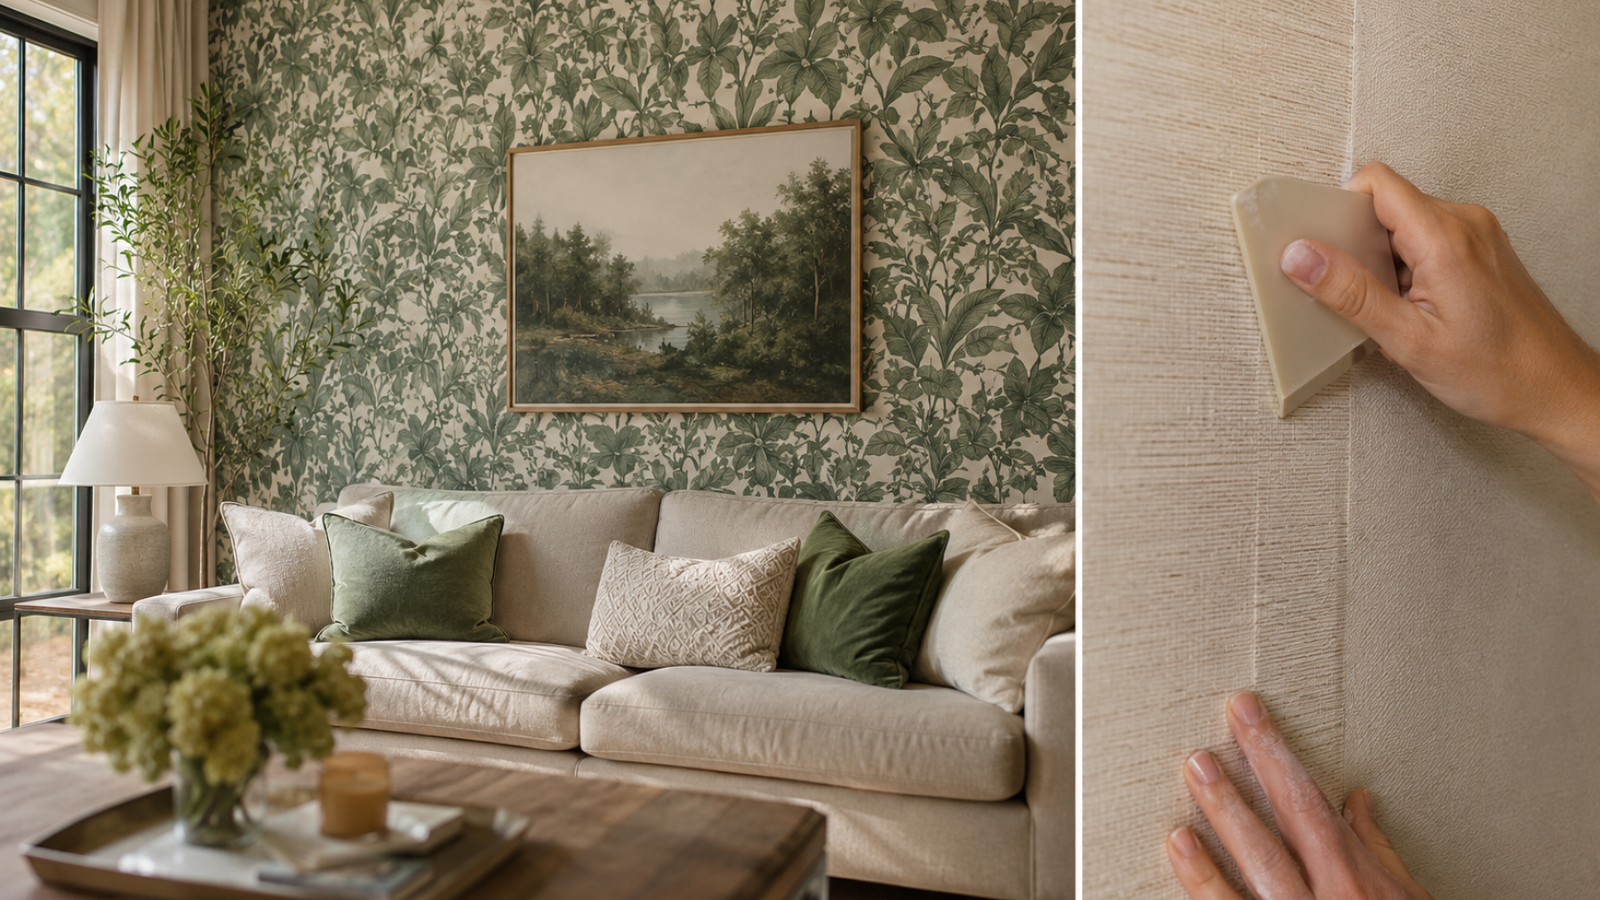
Wallpaper for living room wall projects fail for predictable reasons. Here’s the real trade-offs on materials, install steps, and mistakes worth avoiding. My neighbor spent nine hundred dollars on a roll of imported grasscloth last spring, hung it herself on a Saturday afternoon, and by Monday the seams had already started lifting away from the drywall.
She called me half annoyed, half laughing, asking what she’d done wrong. Nothing, really — she just hadn’t been told that the wrong adhesive for the wrong wall surface ruins even the most expensive material. That’s the thing about wallpaper for living room wall projects: the paper itself is rarely the problem. It’s everything around it — the wall prep, the humidity, the pattern match, the install order — that decides whether the room looks finished or half-done six months later.
This isn’t a listicle of pretty patterns pulled from a mood board. It’s what I’ve picked up from watching dozens of these projects go right and a fair number go sideways, plus what a proper install actually requires if you want it to hold up past the first winter.
Ranking this properly means starting with what usually goes worst first. At the bottom: cheap, unbacked paper hung with the wrong paste on an unprimed wall — it looks fine for a month, then curls at every seam. In the middle: a decent peel-and-stick product, applied without checking the wall for dust or grease first, which holds up okay but never quite lies flat. At the top: a properly primed wall, matched adhesive, and a material chosen for that specific room’s humidity and traffic — that’s the version that still looks sharp five years later, and it’s the one this guide is actually built around.
What “Wallpaper for Living Room Wall” Actually Means in Practice
When people search for wallpaper for living room wall ideas, they’re usually picturing one of three things: a single feature wall behind the sofa or TV, a full-room wrap, or a smaller accent zone like a reading nook or the wall behind a media console. These aren’t interchangeable decisions. A full-room wrap in a bold pattern can overwhelm a small space fast, while a single accent wall barely registers unless the pattern and color have enough contrast to earn attention.
Living rooms also take more daily wear than most other rooms in the house — kids leaning against the wall, furniture getting shoved back after a party, sunlight pouring in for hours if you’ve got south-facing windows. That’s different from a bedroom or a powder room, where the wallpaper mostly just needs to look good and survive the occasional bump. If you want a deeper breakdown of where an accent wall actually pays off versus where it falls flat, this guide on choosing a living room accent wall walks through the placement logic in more depth than I can cover here.
I’ve seen this trip people up more than once: they fall in love with a sample swatch under store lighting, then get it home and realize the undertone shifts completely once it’s next to their existing sofa or flooring. Bring a swatch home. Tape it to the wall. Look at it in the morning and again at night before you commit to sixty dollars a roll.
Why the Wall You Pick Actually Matters
Wallpaper for living room wall choices affect more than looks. Pattern and texture change how a room reads in terms of size, warmth, and formality. A vertical stripe pulls the eye upward and can make an eight-foot ceiling feel taller. A large-scale botanical print pulls a room inward, making an oversized living room feel more intimate. Neither is better — it depends on what your room is missing.
There’s also a resale angle nobody talks about enough. Realtors I’ve spoken with are split on this: some say a bold accent wall helps a listing photograph better and stand out online, others say buyers mentally subtract the cost of removal. The safer bet if resale matters to you is peel-and-stick or a removable non-woven paper on just one wall, not a permanent, heavily pasted paper across the whole room.
And there’s the sound thing. Textured wallpaper — grasscloth, cork-backed, heavier vinyls — does soften a room acoustically in a way flat paint never will. If your living room echoes because of hard floors and big windows, this is a side benefit worth weighing.
Matching Color and Pattern to How Your Room Catches Light
Here’s something showroom lighting hides completely: the same roll of paper can look warm and inviting in one house and flat, almost gray, in another. North-facing living rooms get cooler, bluer daylight most of the day, which mutes warm tones like terracotta or mustard unless you compensate with a slightly warmer undertone than you think you need. South-facing rooms flood with warm light for hours, which can make an already-warm pattern feel almost orange by late afternoon.
Dark, saturated wallpaper — deep navy, forest green, charcoal — works surprisingly well in smaller living rooms with good natural light, because it adds depth instead of just closing the space in. Try that same dark tone in a room with one small window and it reads as cave-like instead of cozy. Lighter, higher-contrast patterns generally do more for rooms that don’t get much sun.
Scale matters just as much as color. A large-scale pattern on a big, uninterrupted wall reads as intentional and dramatic. That same pattern crammed onto a short wall interrupted by a doorway and two windows just looks chopped up and busy. Small-scale prints or subtle textures are usually the safer choice for walls broken up by trim, outlets, or furniture.
I’d also say this: don’t pick a pattern purely off a phone screen. Screens boost saturation in ways that don’t match how the paper looks under your actual bulbs. Order a real sample, not just a digital swatch, before you commit to a full order.
Pairing It With Furniture You Already Own
Most people pick wallpaper for living room wall projects before they think hard about the furniture already sitting in that room, and that order causes more regret than any material choice does. A patterned sofa in front of a busy wallpaper competes for attention, and the room ends up feeling cluttered even if both pieces are individually attractive. If your sofa, rug, or curtains already carry a strong pattern, a textured solid or a subtle tonal wallpaper usually reads as more finished than another loud print layered on top.
Wood tones matter too. Warm oak or walnut furniture generally pairs better with wallpaper in warm neutrals, terracottas, or deep greens, while cooler-toned furniture — gray-washed wood, black metal frames, chrome accents — tends to sit better against blues, charcoals, or crisp whites. It’s not a hard rule, but clashing undertones between the wall and the furniture in front of it is one of the more common reasons a finished room feels slightly off without anyone being able to say exactly why.
Curtains and rugs are worth checking against your sample swatch too, not just the sofa. A wallpaper that looks perfect alone can fight with a patterned rug the moment they’re in the same sightline. Lay the swatch on the floor near the rug, not just on the wall, before you place the final order.
Kids, Pets, and Everyday Wear
A wallpaper for living room wall choice that ignores who actually lives in the house is asking for an early repaint. Homes with young kids or dogs that use the living room as a racetrack do better with vinyl or non-woven material at a washable, scrubbable finish — grasscloth and other natural fibers stain permanently from a single wet-handed touch or a curious puppy’s nose.
Corners near doorways and hallway transitions take the most physical wear — bag straps, doorknobs, furniture corners being moved. If your household is hard on walls, consider keeping the more delicate materials for a low-traffic zone, like above a fireplace mantel where nothing brushes against it, and saving the washable options for anywhere within arm’s reach of daily foot traffic.
Materials: What You’re Actually Choosing Between
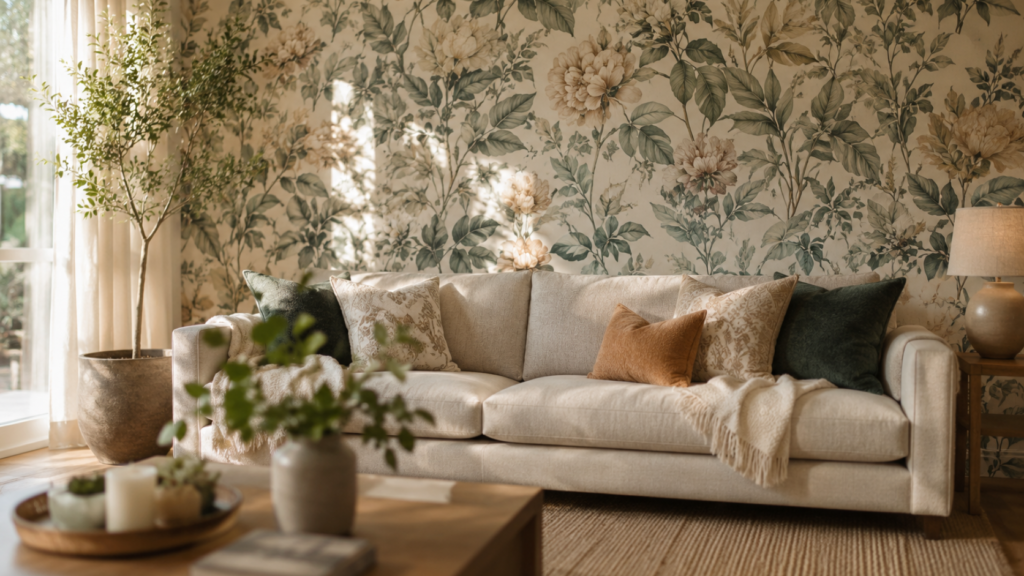
Not every wallpaper for living room wall project uses the same material, and the differences matter more than most buying guides admit.
Vinyl wallpaper is the workhorse. It’s scrubbable, holds up to moisture better than paper-backed options, and it’s the most common type sold in the U.S. today. The trade-off is that heavier vinyls can be stiff and harder to trim cleanly around outlets and corners.
Non-woven wallpaper has become the default for a lot of newer collections because it’s breathable, doesn’t stretch when wet, and usually strips off in full sheets instead of shredding into a hundred pieces. It costs more per roll but saves time and frustration during removal down the line.
Grasscloth and natural-fiber papers bring texture nobody else can replicate — but they stain if you so much as brush them with a wet hand, and they’re not a great match for a living room with pets or small kids who touch everything.
Peel-and-stick wallpaper has gotten dramatically better over the last few years. It used to look cheap and bubble within weeks. The better brands now are genuinely close to traditional paper in appearance, and they’re the obvious choice for renters or anyone who wants to swap the look every few years without committing.
Mural-style wallpaper panels are a different animal entirely — usually a single large-scale scenic image printed across a set of numbered panels rather than a repeating pattern. They’re a strong option for a genuine focal wall behind a sofa, but they need a wall wide enough and flat enough for the image to line up seam to seam, and they’re unforgiving of measurement mistakes since there’s no repeat to hide a miscut panel.
| Material | Best For | Durability | Removal Difficulty |
| Vinyl | High-traffic accent walls | High | Moderate |
| Non-woven | Full-room installs | High | Easy |
| Grasscloth / natural fiber | Low-touch statement walls | Moderate | Difficult |
| Peel-and-stick | Renters, quick refreshes | Low to Moderate | Very Easy |
| Mural panels | Single dramatic focal wall | Moderate to High | Difficult |
If this is a full-room wrap and you’ve got kids or pets, non-woven usually wins on practicality. If it’s a single low-traffic accent wall in a formal sitting room, grasscloth earns its price tag. And if the goal is one dramatic statement wall behind the sofa rather than a repeating pattern, mural panels are worth the extra planning they demand.
How Wallpaper for Living Room Wall Installation Actually Works
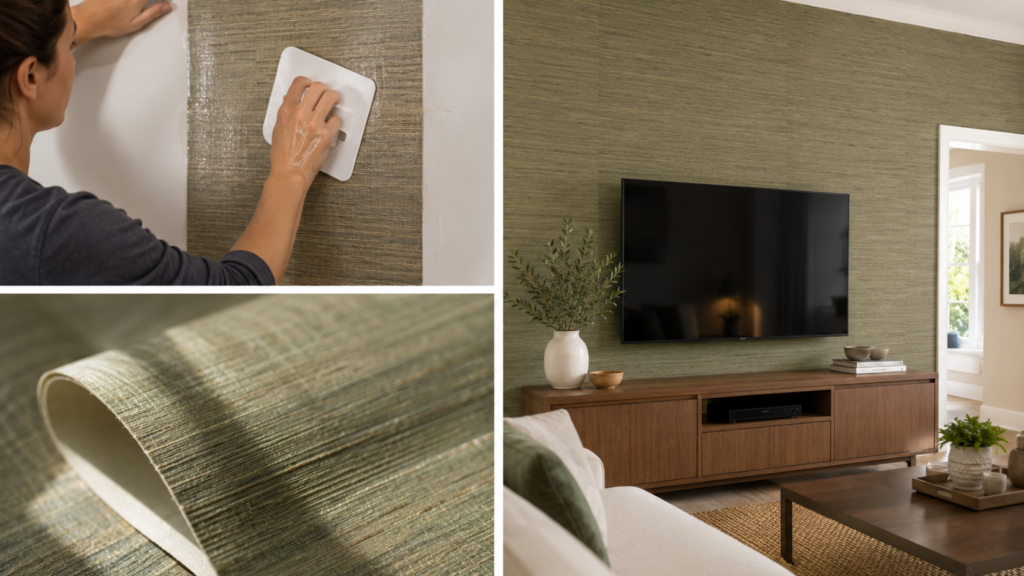
The steps sound simple on paper — measure, cut, paste, hang — but the order and the small decisions in between are where most home installs go wrong.
Start by measuring the wall’s width and height, then add a few extra inches top and bottom for trimming. Pick a focal wall if there’s a dominant pattern element, and center that element rather than starting blindly from a corner. A plumb line drawn with a level down the starting edge matters more than people think; walls are almost never perfectly square, and eyeballing it guarantees a visible drift by the third strip.
Pre-pasted papers get soaked and folded onto themselves briefly before hanging, which lets the adhesive activate evenly. Non-pasted papers need adhesive applied by hand, which gives more control but takes longer and demands a steadier touch. For anyone hanging their first roll, the detailed breakdown in This Old House’s wallpaper installation techniques guide is worth reading before you even buy the paste — it covers the smoothing and trimming steps that separate a clean seam from a visible one.
Smooth from the center out, working bubbles toward the edges, not into them. Trim excess at the ceiling and baseboard with a sharp blade — a dull one tears rather than cuts, and a torn edge is nearly impossible to disguise once the paper dries. Let each strip set for a few minutes before moving to the next so the pattern has time to settle without shifting.
Corners deserve their own mention because nobody’s living room has a perfectly square one. Overlap the new strip about half an inch around an inside corner rather than trying to bend a full sheet into the angle — bending invites bubbling and a wrinkled seam that never quite lays flat. Outside corners, like the edge of a chimney breast, are the opposite problem: wrap a small amount around and start the next strip fresh rather than stretching one piece around the whole edge, which distorts the pattern.
Room temperature matters more than most first-timers expect. Hanging in a cold room slows the paste’s cure time and can leave the paper tacky for hours; hanging in a room that’s too warm dries the edges before you’ve had a chance to slide the strip into alignment. A comfortable, steady room temperature — nothing extreme in either direction — gives you the widest working window.
The Real Benefits, Beyond “It Looks Nice”
A well-chosen wallpaper for living room wall setup does a few things paint simply can’t. It hides minor plaster and drywall imperfections that would otherwise need skim-coating. It adds tactile texture — grasscloth, embossed vinyl, linen-look papers all give a room depth that a flat painted wall can’t fake. It also lets you commit to a bolder color or pattern on one wall without repainting the whole room if you change your mind in two years.
A wallpaper for living room wall install also gives you flexibility that a full repaint doesn’t. Swap the sofa, change the throw pillows, repaint the trim — the wallpaper stays as a stable backdrop that doesn’t need touching up every time the rest of the room’s decor shifts around it. That’s a small thing, but it adds up over the years you’ll actually live with the choice.
There’s a practical air-quality angle too, and it’s one people rarely ask about until after installation. Adhesive off-gassing is real, particularly with solvent-based pastes, and it typically peaks in the first few days to weeks after hanging. Choosing a low-VOC or zero-VOC adhesive matters more in a living room than in, say, a garage, simply because you spend so many waking hours in that space. The EPA’s overview of indoor air quality standards is a useful reference if you want to understand what’s actually being measured and why ventilation during and after install genuinely helps.
Where It Falls Short — Challenges Worth Knowing Up Front
Wallpaper isn’t universally better than paint, and pretending otherwise sets people up for disappointment. Humidity is the big one. A living room next to an open kitchen, or one with poor ventilation, can see seams lift or edges curl within a year if the paper and adhesive weren’t matched to that environment.
Pattern matching across a large wall with windows, outlets, and trim is genuinely harder than it looks in a showroom photo. Budget for roughly ten to fifteen percent extra paper beyond your measured square footage to account for pattern repeat and cutting waste — running short mid-project, with dye lots that no longer match, is a common and avoidable headache.
Cost adds up fast too. A modest living room wall can run anywhere from a couple hundred dollars in materials for peel-and-stick to well over a thousand for a full-room designer install with professional labor. Get a real quote before you fall in love with a $180-a-roll pattern.
When to Actually Schedule the Install
Timing a wallpaper for living room wall install around the seasons matters more than people assume. Late spring and early fall tend to be the sweet spot in most climates — humidity is moderate, and you’re not fighting either a bone-dry heating system or a muggy air conditioner cycling on and off, both of which affect how evenly the adhesive cures.
Winter installs in homes with forced-air heating can dry seams too fast, before you’ve had the chance to slide a strip fully into alignment. Summer installs in humid regions risk the opposite problem — paste that stays tacky too long, inviting bubbles that only show up after everything’s already dry. Neither is a dealbreaker, but if you have flexibility in your schedule, avoid installing during the first cold snap of the heating season or the peak of summer humidity if you can help it.
If timing isn’t flexible, running a dehumidifier or a fan on low for a day before and after hanging closes most of that gap, keeping the room’s moisture level in a more predictable range while the adhesive sets.
What It Actually Costs, Room by Room
Breaking the cost down by scope helps more than a single “average price” figure, because the range is genuinely wide. A single accent wall using peel-and-stick material typically lands between $150 and $400 including a couple of rolls and basic tools, done as a weekend DIY job. Move to a designer non-woven paper on that same single wall, hired out to a professional installer, and the number climbs to somewhere between $400 and $900 depending on your region and the pattern’s complexity.
A full living room wrap changes the math substantially. Expect somewhere from $1,200 to well over $3,000 once you’re covering four walls with a mid-range designer paper and professional labor, largely because pattern matching around windows, outlets, and doorways takes real time. Grasscloth and other natural-fiber options push toward the higher end of that range simply because the material itself costs more per roll and installers often charge a premium for handling it, given how easily it stains or tears.
The cheapest mistake to avoid here isn’t picking an expensive paper — it’s under-ordering. A roll bought later to finish a job, even from the “same” collection, can be a slightly different dye lot, and that mismatch is far more visible under living room lighting than most people expect.
A Step-by-Step Guide to Choosing Yours
- Measure the actual wall, not the room. Width times height, then subtract windows and doors if the pattern won’t need to continue behind them.
- Decide scope — full room, one accent wall, or a smaller zone like a reading nook.
- Pick material based on traffic and moisture, not just how it looks in a photo.
- Order a sample and tape it up for at least 24 hours before buying full rolls, checking it under both daytime and evening light.
- Check the dye lot number on every roll you order — mismatched lots show up as visible color shifts once hung.
- Budget extra paper for pattern repeat and mistakes, and round your total up rather than down.
- Inspect the wall surface for old paint, damage, or previous wallpaper residue before you order adhesive, since the surface determines which paste actually works.
- Decide DIY vs. professional honestly, based on pattern complexity and wall condition, not optimism.
- Confirm ventilation and drying time before install day, especially if you’re using a solvent-based adhesive in a room that doesn’t get much airflow.
Practical Examples From Real Rooms
These aren’t hypothetical scenarios pulled together for the sake of variety — they’re the kind of decisions that come up over and over once you start paying attention to how differently the same basic choice plays out depending on light, traffic, and who actually lives in the space day to day.
A couple I helped last year had a narrow living room with low natural light. They went with a soft, small-scale geometric in a warm cream tone on just the fireplace wall, in non-woven material, and it made the room feel noticeably brighter without demanding attention the second you walk in.
Another project — a rental unit, so nothing permanent was allowed — used peel-and-stick botanical print behind a media console. Total cost under two hundred dollars, installed in an afternoon, removed cleanly eighteen months later when the lease ended. That’s a solid case for wallpaper for living room wall projects in spaces you don’t own outright.
A third client wanted the full-room treatment in a formal sitting room that barely gets used day to day. Grasscloth made sense there specifically because low foot traffic meant the fragility of the material wasn’t a real concern.
A fourth job stands out mostly as a cautionary tale. A homeowner ordered a large-scale mural panel for the main wall behind the sectional without measuring around a recessed alcove first, and the final panel ended up needing an awkward hand-trim that broke the image’s symmetry right at eye level. It’s a fixable problem in hindsight, but it’s the kind of mistake that only shows up once the panels are already cut and paid for — measure twice, especially with anything that doesn’t repeat.
Expert Tips Worth Actually Following
Buy one extra roll beyond your calculated need, even after the ten to fifteen percent buffer. Paper runs get discontinued, and matching dye lots six months later is close to impossible.
Prime bare drywall before hanging, always. Skipping primer is the single most common reason paper fails to adhere properly, especially in older homes with inconsistent wall texture.
Work in daylight if you can. Artificial lighting hides seam gaps and pattern misalignment that become obvious the moment the sun comes through the window the next morning.
So don’t rush the drying time between pasting and hanging if you’re using a non-pasted paper — a few extra minutes of patience here saves hours of frustration later.
Keep the leftover roll and a written record of the dye lot number somewhere you’ll actually find it — a drawer in the room itself works better than a garage shelf. Future repairs after a scuff or a moved piece of furniture go a lot faster with that information on hand.
Test your adhesive on a small hidden patch of wall first if you’re at all unsure about the surface. A quarter-sized test strip in a closet or behind furniture tells you in twenty minutes whether the paste is going to hold, long before you’ve committed a full roll to the living room’s main wall.
Common Mistakes to Avoid
After enough of these projects, the mistakes start to repeat themselves in predictable ways. Most wallpaper for living room wall regrets trace back to one of a handful of avoidable decisions made early, before the first strip ever goes up.
Skipping the plumb line is probably the single most repeated mistake. Walls drift out of square more than people expect, and a pattern that looks straight for the first two strips can visibly lean by strip five.
Buying exactly the amount of paper you measured, with zero buffer, is another one. Cutting waste and pattern repeat eat into your total faster than the math suggests.
Ignoring humidity is a big one too — hanging heavy vinyl in a room with poor airflow near a kitchen or bathroom wall is asking for lifted seams within a year. For a deeper look at how to plan around a single wall specifically rather than a full room, this piece on accent wall wallpaper planning is a useful next read.
And don’t paste over old, peeling wallpaper hoping the new layer will hide it. It won’t. Strip the old paper first, patch the wall, then start fresh.
Rushing the first strip is another one worth naming on its own. That first piece sets the reference line for every strip after it, so if it’s crooked or misaligned, the error compounds strip by strip until it’s obvious from across the room. Take extra time there even if it feels slow.
Choosing a pattern based on a single Pinterest photo, without accounting for your own room’s wall height, window placement, or lighting, rounds out the list. What reads as dramatic and cohesive in someone else’s photograph can look completely different once it’s stretched across your specific wall.
Frequently Asked Questions
Is wallpaper for living room wall projects worth the cost compared to paint? It depends on the room. Wallpaper for living room wall projects cost more upfront but add texture and pattern depth paint can’t replicate, and a single accent wall keeps the cost manageable.
How long does wallpaper typically last on a living room wall? Quality vinyl or non-woven paper properly installed can last ten to fifteen years. Humidity, sunlight exposure, and adhesive quality all affect that timeline.
Can I install wallpaper for living room wall myself, or do I need a pro? Simple patterns on a single wall are doable for a patient beginner. Large-scale pattern matching across a full room is where most DIYers should consider hiring help.
Does wallpaper work well behind a TV or media wall? Yes, and it’s one of the most popular placements. Just avoid high-gloss finishes that reflect screen glare, and stick with a slightly textured or matte material there.
How much extra wallpaper should I order for a living room wall? Order roughly ten to fifteen percent more than your measured square footage. Large-scale or mismatched patterns sometimes need closer to twenty percent to account for repeat and cutting waste.
Conclusion
Choosing wallpaper for living room wall projects comes down to matching the material to how the room actually gets used, not just how a sample looks under store lighting. Vinyl and non-woven papers earn their keep in high-traffic spaces with kids, pets, or heavy furniture movement. Grasscloth and natural fibers reward a calmer, low-touch room where texture matters more than durability. Peel-and-stick has closed the quality gap enough that renters and commitment-averse homeowners finally have a real option that doesn’t look temporary, and mural panels give a genuine focal-wall moment when a repeating pattern won’t do.
The technical side — plumb lines, primer, dye lots, humidity, adhesive off-gassing, room temperature during install — isn’t glamorous, but it’s the actual difference between a wall that still looks sharp in five years and one with lifting seams by next winter. None of these details are complicated on their own. They just get skipped when the excitement of picking a pattern takes over, and skipping them is exactly what turns a nine-hundred-dollar roll of grasscloth into a Monday-morning phone call to a neighbor.
Budget extra paper beyond what you measure, test your swatch in real daylight and again after dark, and be honest with yourself about whether a full-room wrap or a single accent wall actually fits how your living room gets used day to day. Cost should factor in labor and adhesive quality, not just the price per roll printed on the sample book. And if resale ever crosses your mind, lean toward removable or peel-and-stick options rather than a fully pasted, permanent install across every wall.
None of this needs to be complicated. A wallpaper for living room wall project, done with the right prep and a little patience, is one of the few home upgrades that changes how a room feels without changing its footprint or requiring a renovation permit. Get the wall prep and material choice right, respect the drying and ventilation timelines, and the pattern you fell in love with in the store will still look that good long after the excitement of installation day wears off.